In the Layout interface, you can bind an AP in a specific project to a specific location. The specific steps are as follows:
Step 1: After selecting a non-apartment project, click Network Details > Layout to go to the configuration interface.

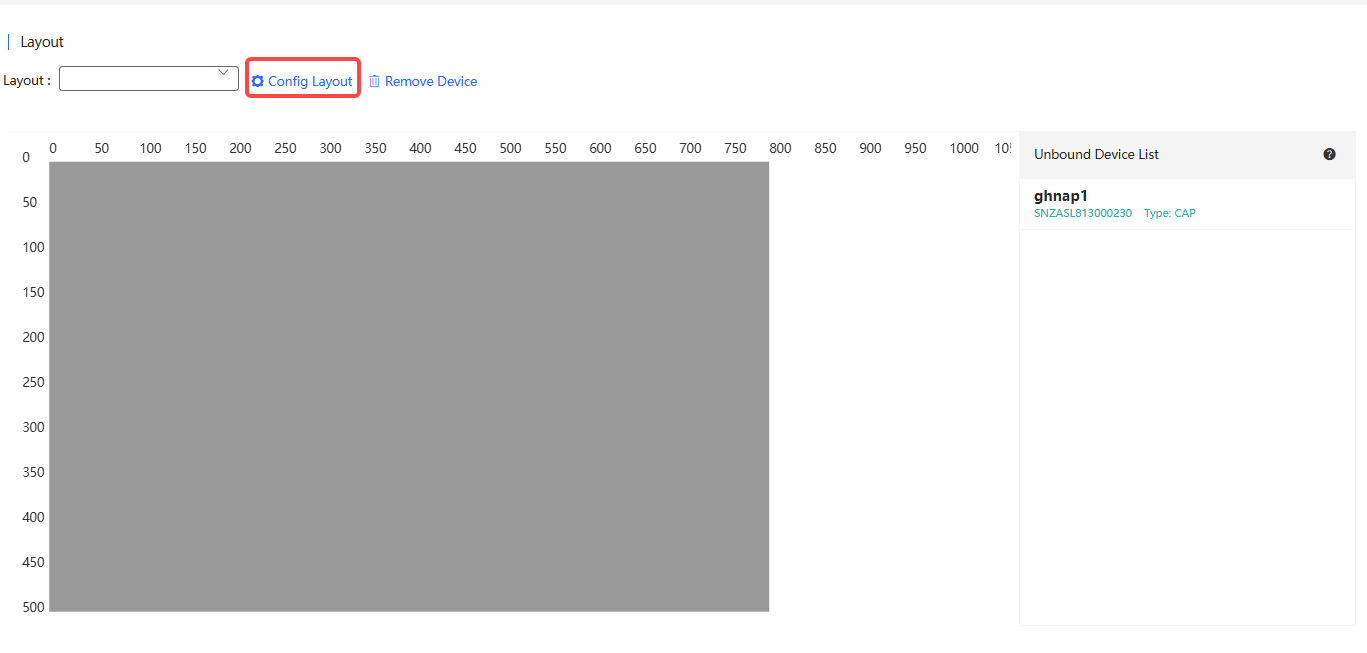
Step 2: Click Config Layout.
Step 3: Click Add Layout to add a layout.

Step 4: After setting the layout name, layout type, select a image or bind a location and click Save. (Here takes add a local layout type as an example)

(1) Layout Name: Required. Set the layout name. You can enter up to 18 characters. The following character types are supported: letters, numbers, and underscores (_).
(2) Layout Source: Defaults: Local Layout.
(3) Select: Click Select to upload a picture if you set the loayout source to local layout. You can upload a picture in the format of GIF, JPG, JEPG, BMP or PNG. The size of a single picture cannot exceed 5M.
(4) Bind Location: If you set the layout source to Map, you need to specify the location to be bound.
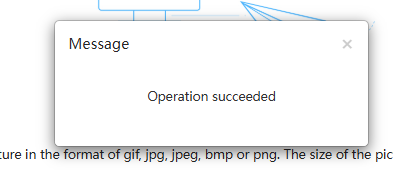
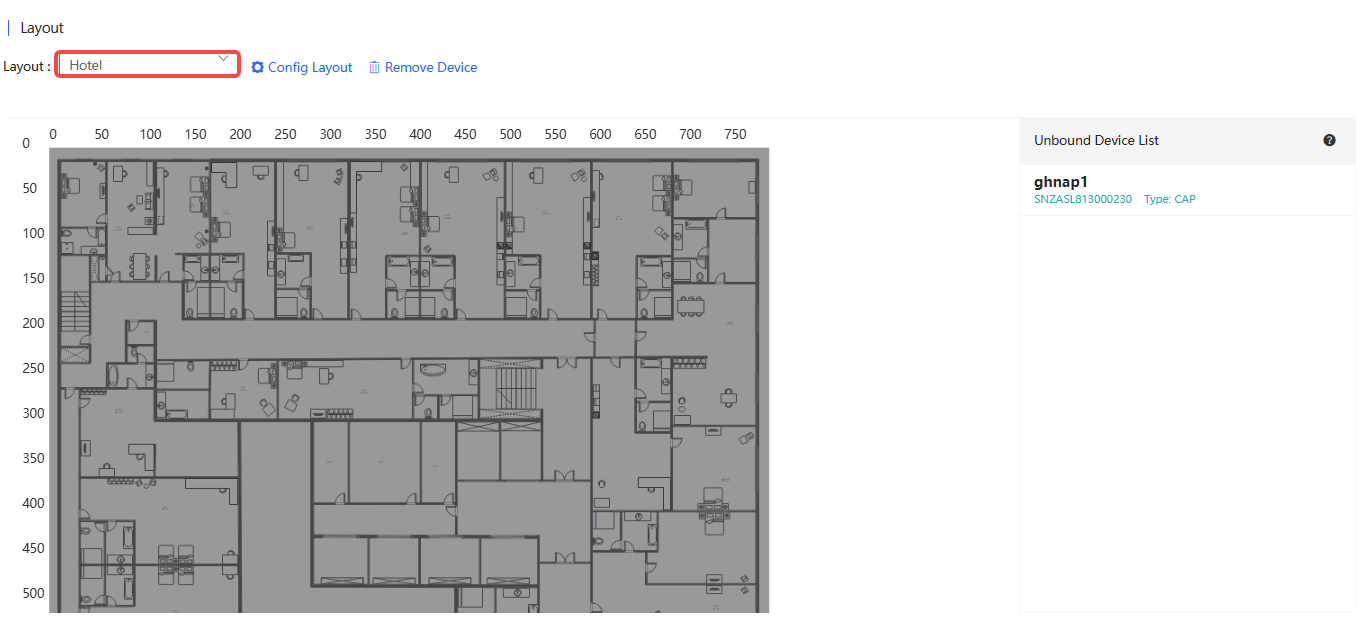
Step 5: When the "Operation succeeded " appears, the setting is completed. Then, you can pull down the layout selection box to select the newly created layout.
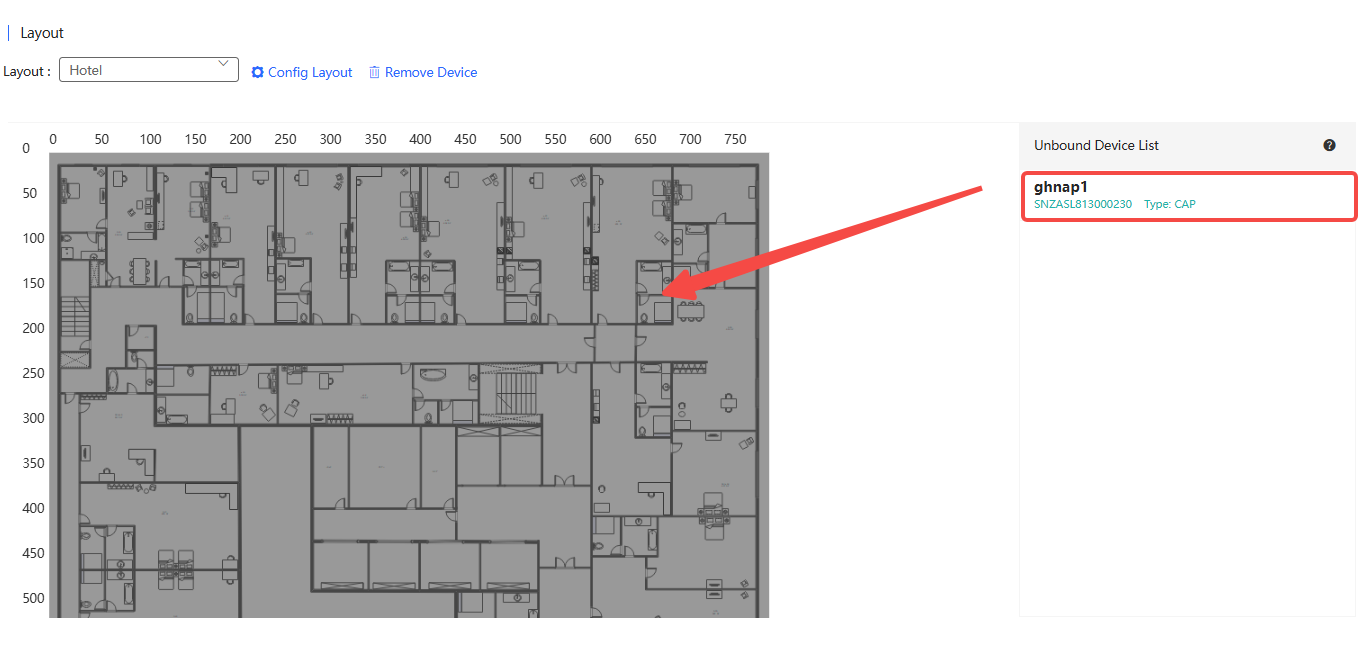
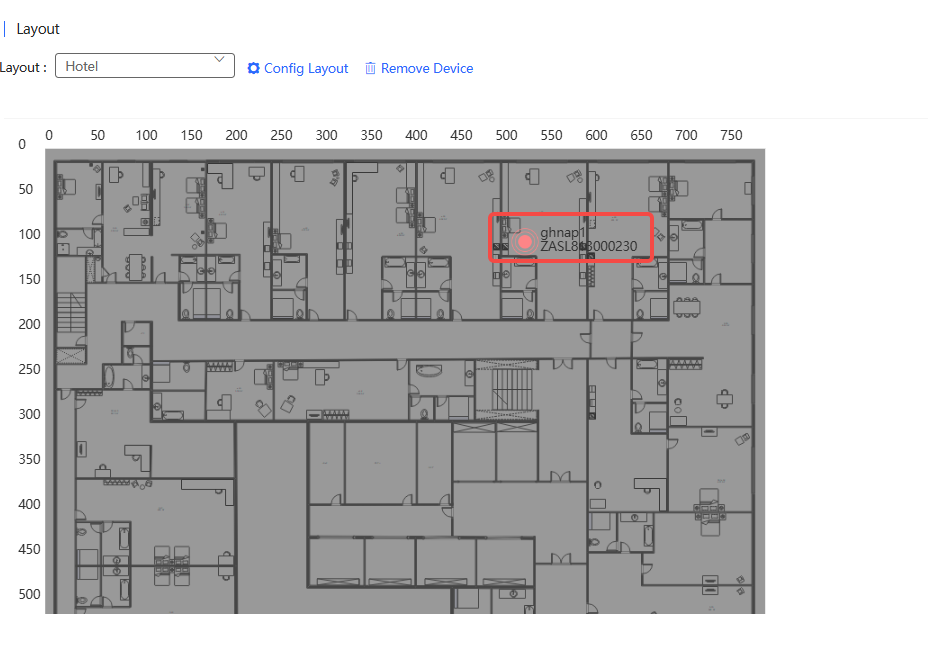
Step 6: Select the device you want to bind from the unbound device list on the right and drag it to the target location. After dragging it in, a red dot will appear to mark the device. If you need to change the device location, place the cursor on the red dot and drag it to another location.
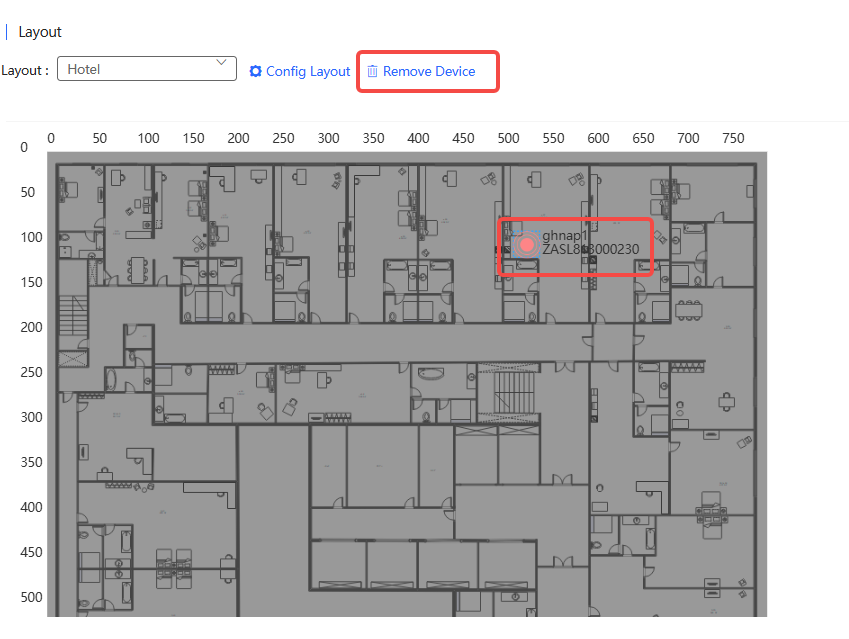
To unbind a device:
Select the device to be unbound, and then click Remove Device. When the prompt appears, click OK to complete the operation.

全部评论