Click account icon  and click Access Policy to go to the access policy management interface. Here, you can configure access policies for subaccounts. By default, the access policy list displays all configured policies under the tenant. Access policies can be applied only to subaccounts. Once an access policy is applied, only the IP addresses specified in the policy are permitted to log in to the subaccount.

To create an access policy:
Step 1: Click Add to go to the access policy management interface.

Step 2: Fill in the information and click Save.

(1) Name: Required. Set the policy name. Length: 1-64 characters. Letters, numbers, and special symbols (-, _ , #, @ ) are supported.
(2) IP/IP segment: Required. Set IP or IP network segment, such as “193.168.2.1, 193.168.2.0/24”.
(3) Period: Required. Set the date range that allows the IP address to access.
(4) Repeat on: Required. Set a repeat day each week. Options: ALL/Monday/Tuesday/Wednesday/Thursday/Friday
(5) Time: Required. Set the time period that allows the IP address to access. To set multiple period, click +Add More.
Step 3: After the policy is added, it is displayed in the Access Policy List. Access policies can only be set for subaccounts.

Follow the steps below to edit an existing access policy:
Step 1: Click the  icon in the Action column of the an access policy.

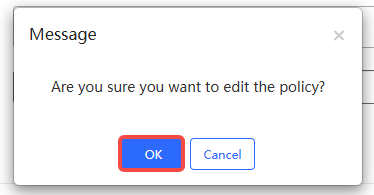
Step 2: After modifying the access policy information as needed, click Save.

Step 3: When the operation confirmation message appears, click OK to complete the operation.
Follow the steps below to delete the corresponding access policy.
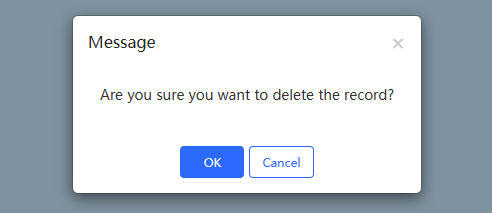
Step 1: Click the icon in the Action column of the access policy to be deleted.

Step 2: When the operation confirmation message appears, click OK.
全部评论