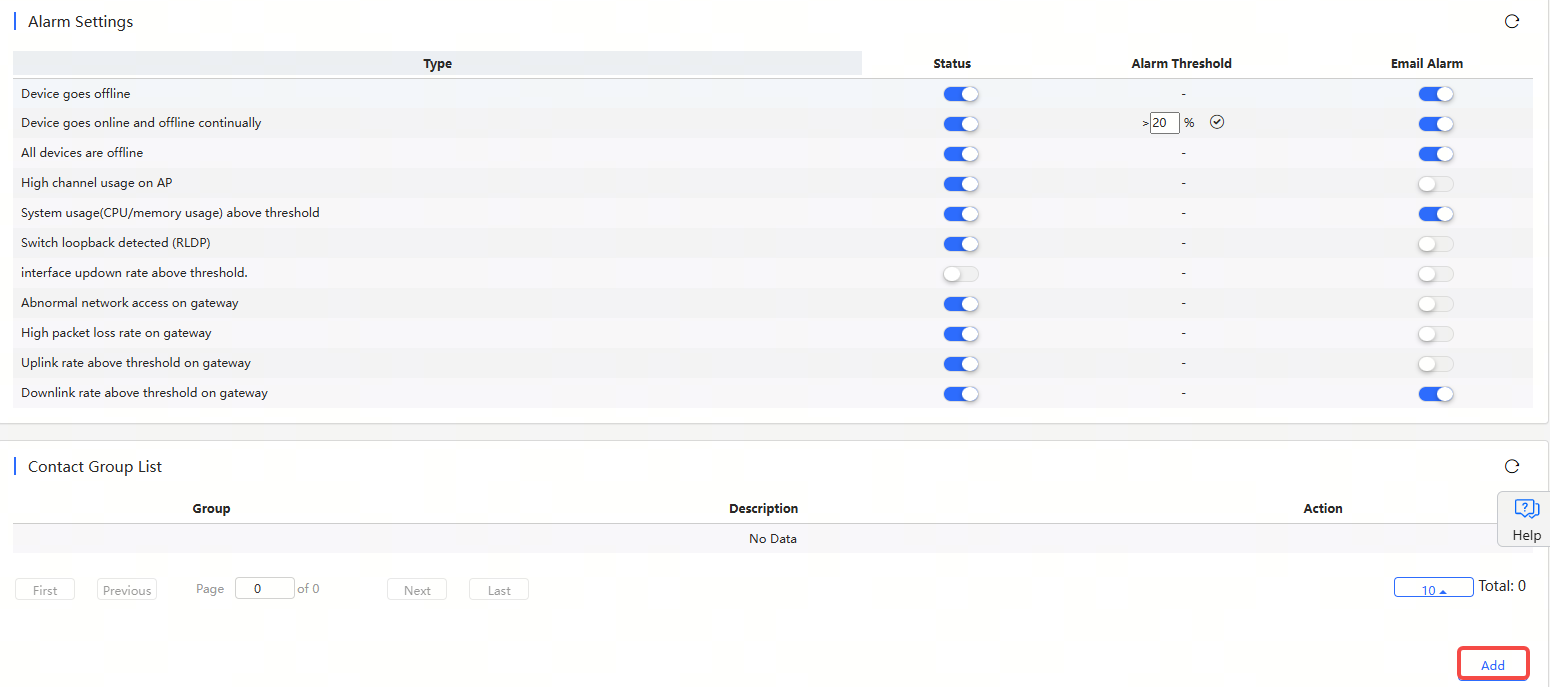
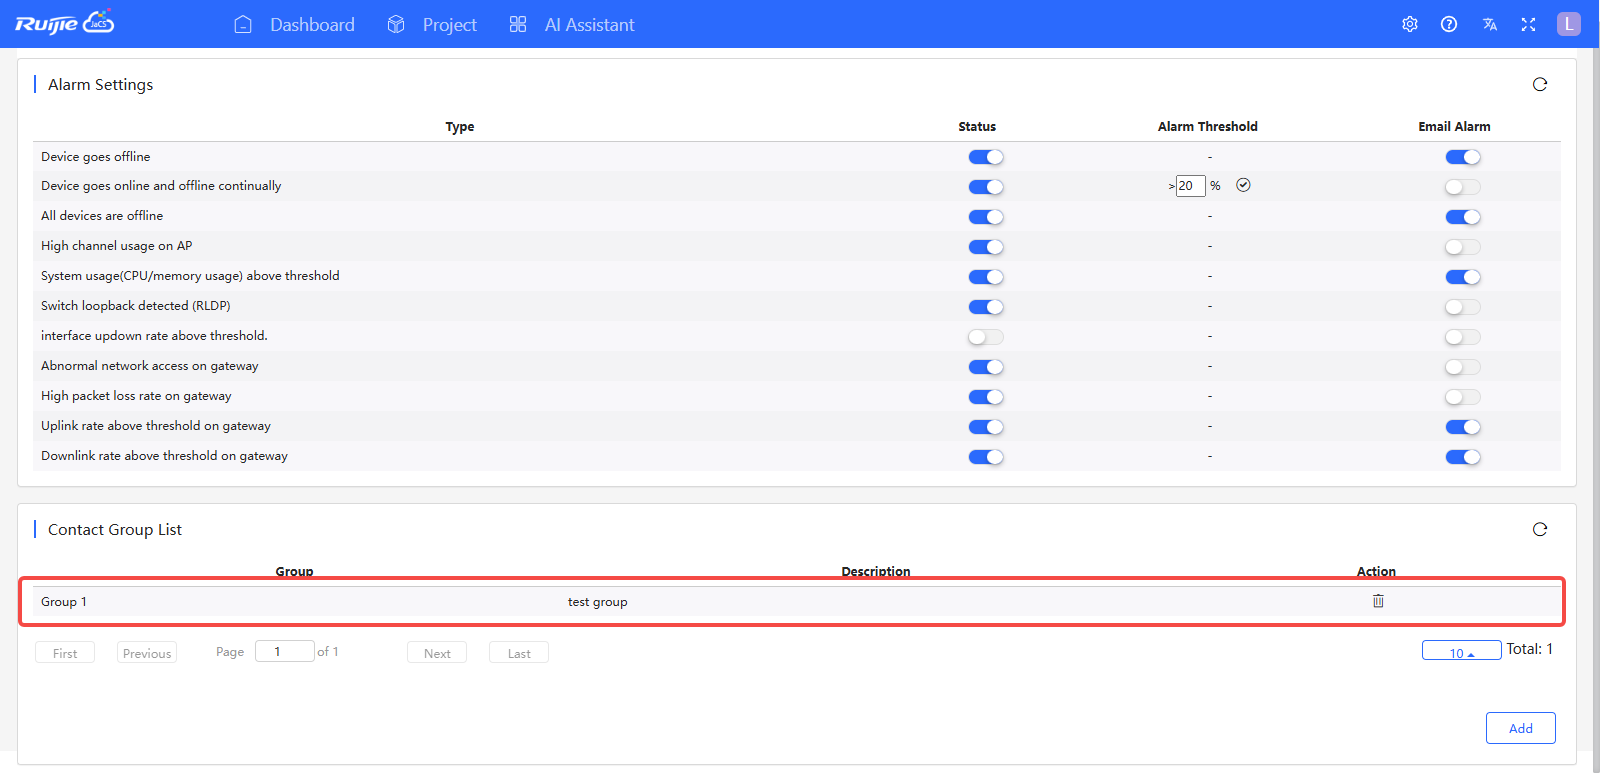
Click  and select Alarm Settings to go to the alarm interface. If the alarm conditions are not configured, the global settings are used. Users can click the switch in Status to enable the corresponding alarm condition according to actual needs.
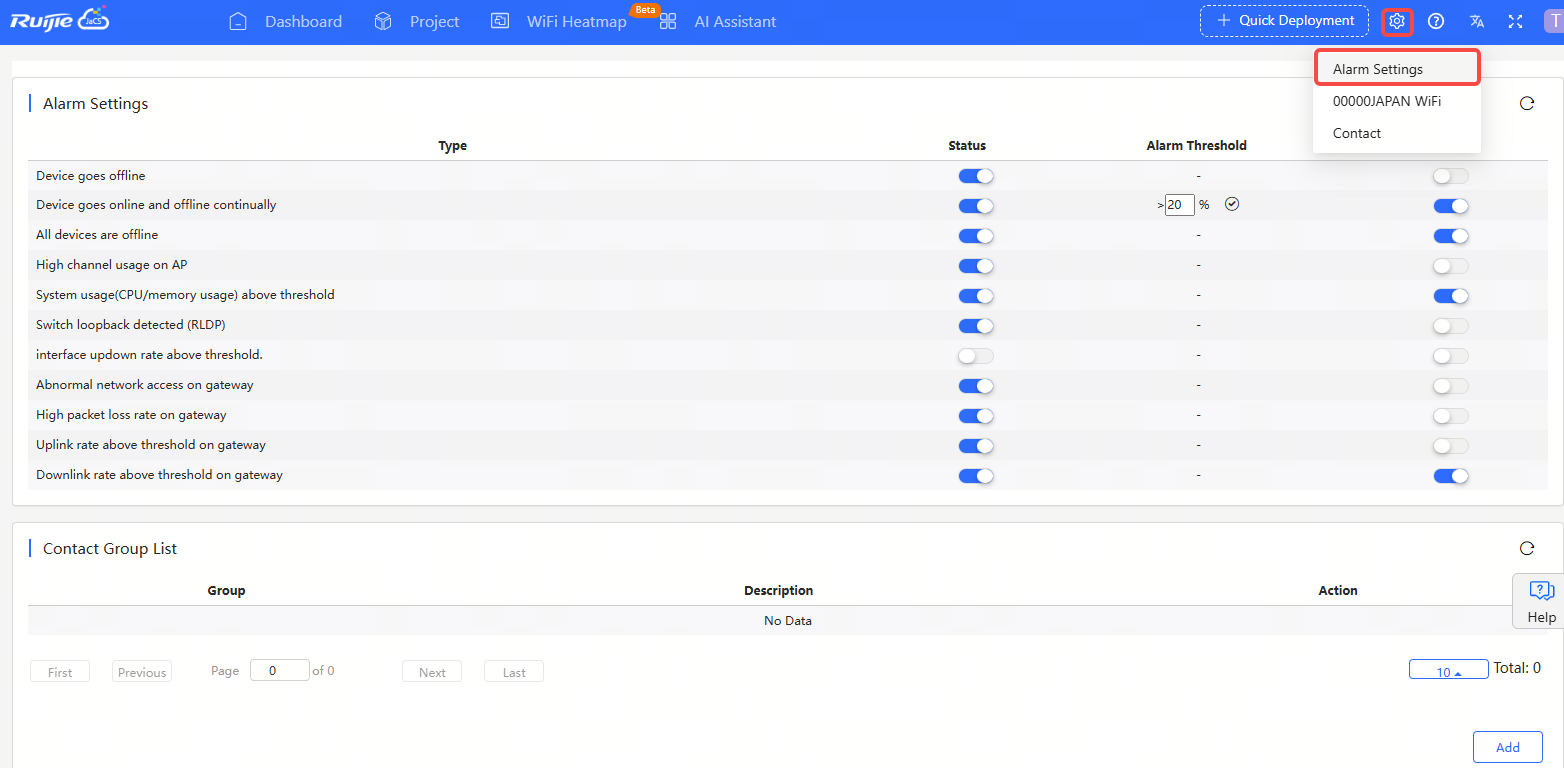
| Conditions | Description |
| Device goes offline | Defaults: Enabled. An alarm will be generated, when a device in the project goes offline. |
| Device goes online and offline continually | Defaults: Enabled. An alarm will be generated, when a device in the project is constantly going online and offline. When it is enabled, you can set the threshold (the default value is 20%). |
| All devices are offline | Defaults: Disabled. An alarm will be generated when all devices in the project go offline. |
| High channel usage on AP | Defaults: Enabled. An alarm will be generated when the channel usage of AP is too high. |
| System usage(CPU/memory usage) above threshold | Defaults: Disabled. An alarm will be generated, when the system usage (CPU/memory usage) is higher than the threshold. |
| Switch loopback detected (RLDP) | Defaults: Disabled. |
| Interface updown rate above threshold. | Defaults: Disabled. |
| Abnormal network access on gateway | Defaults: Enabled. |
| High packet loss rate on gateway | Defaults: Enabled. An alarm is generated when the packet loss rate of the gateway is high. |
| Uplink rate above threshold on gateway | Defaults: Enabled. An alarm is generated when the uplink rate of the gateway exceeds the threshold. |
| Downlink rate above threshold on gateway | Defaults: Disabled. An alarm is generated when the downlink rate of the gateway exceeds the threshold. |
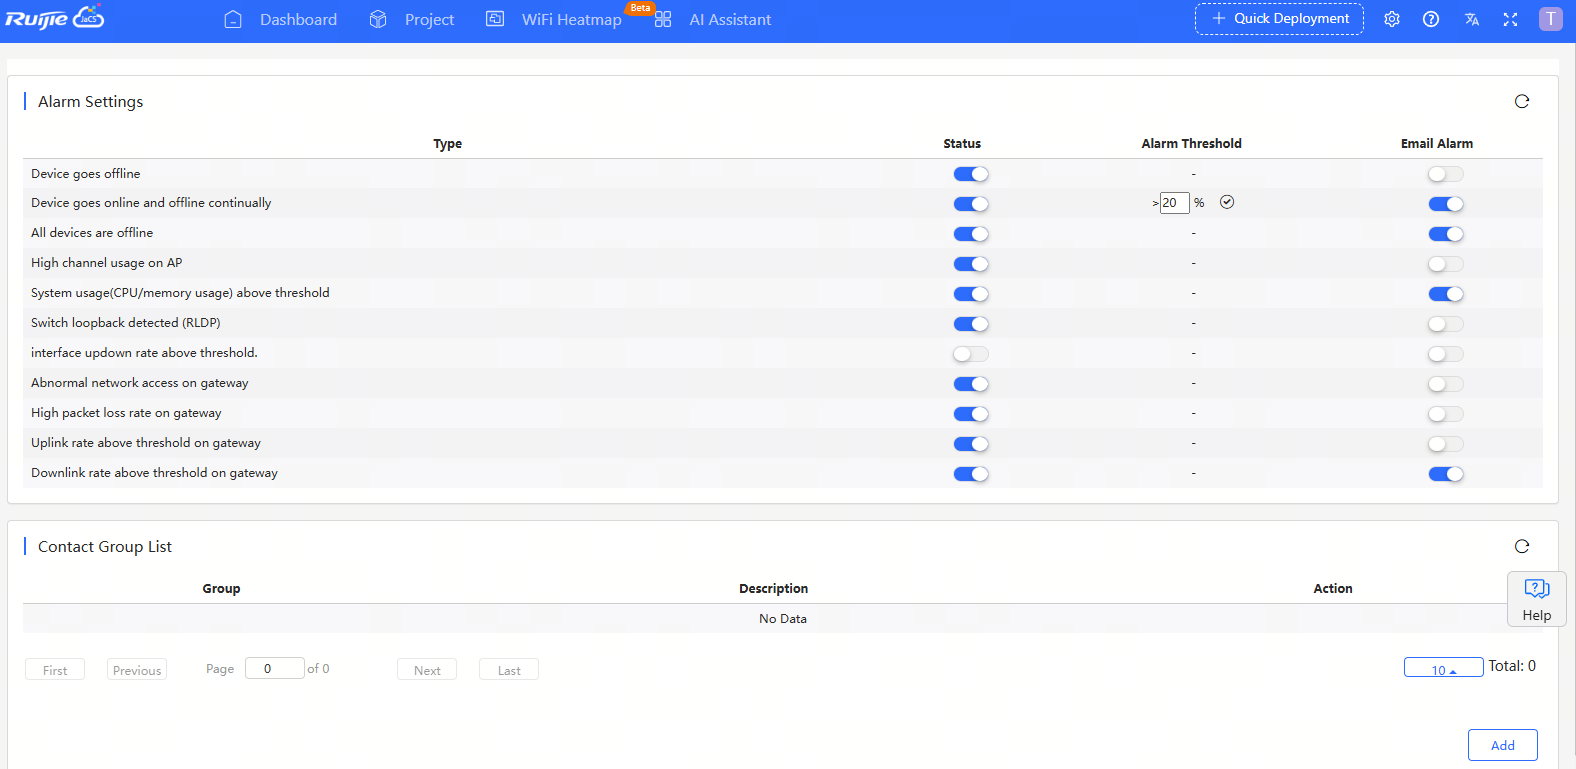
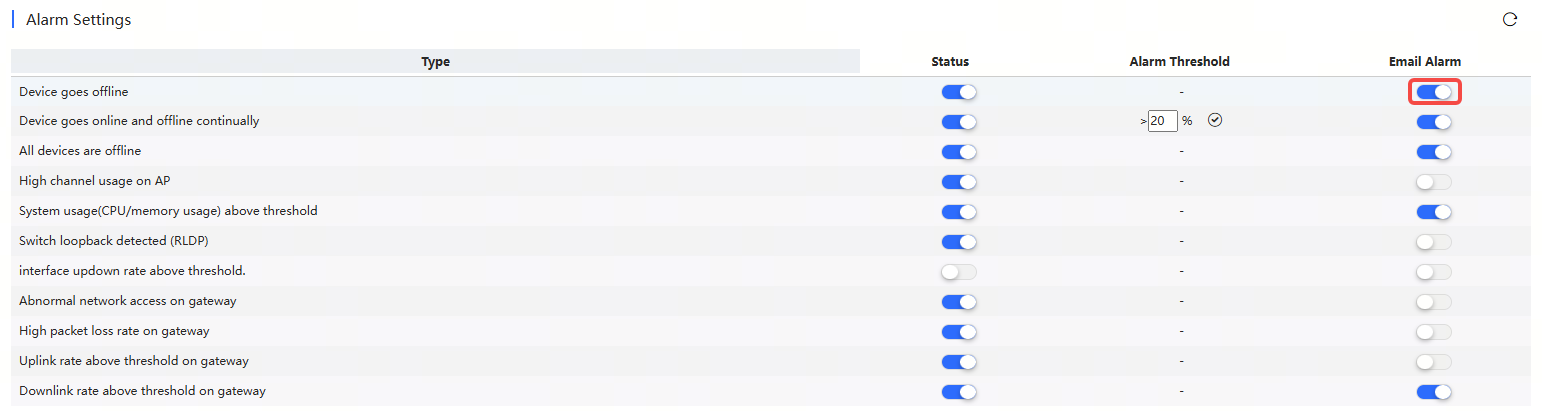
On this page, you can set whether to send alarms via email. Alarms can only be sent via email when the alarm status is turned on. When email alarm function is enabled, the alarm will be sent via Email to contacts in the contact group. The Contact Group List displays the contact groups used for receiving alarm.
Follow the steps below to sending a specific alarm to the mailbox:
Step 1: In the alarm setting page, enable an alarm generation type as needed.

Step 2: Enable email alarm function.
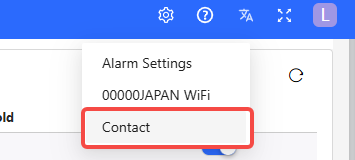
Step 3: Click  and select Contact.
Step 4: Click Add in Contact List to enter the contact setting page.

Step 5: Specify the name, email address, mobile phone number and description, and then click Save.
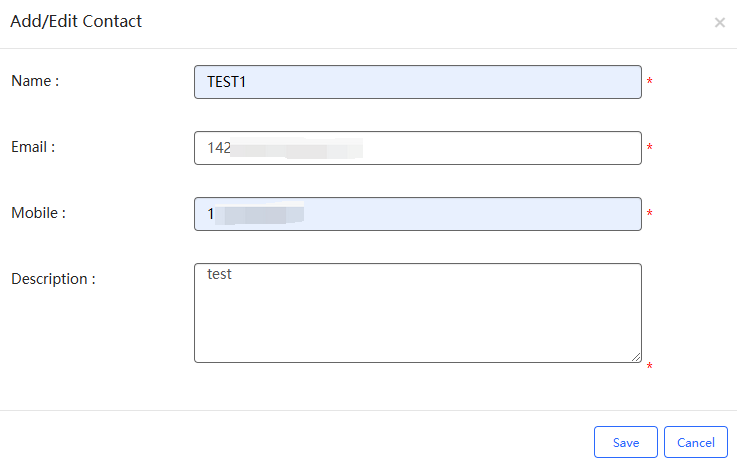
Step 6: When the "Added succeeded" prompt appears, click X to close the prompt box and complete the operation. The created contact will be displayed in the Contact List.

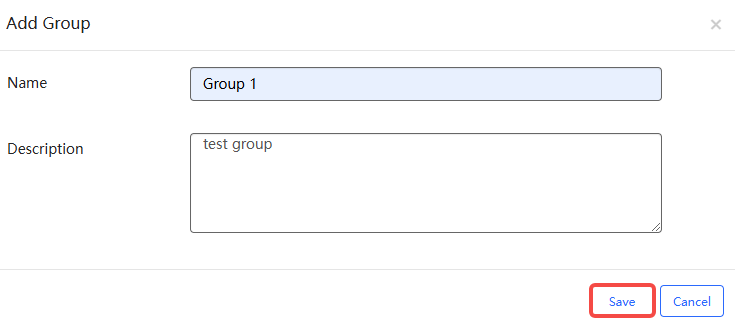
Step 7: Click Add in Contact Group to create a contact group.

Step 8: After setting the contact group name and description, click Save. The name and description are required.
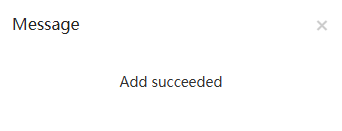
Step 9: After the “Add succeeded” prompt appears, click X to close the prompt box.

Step 10: The created contact group will be displayed in the list. Click the  in the Action column of the contact group to add a contact to the contact group.

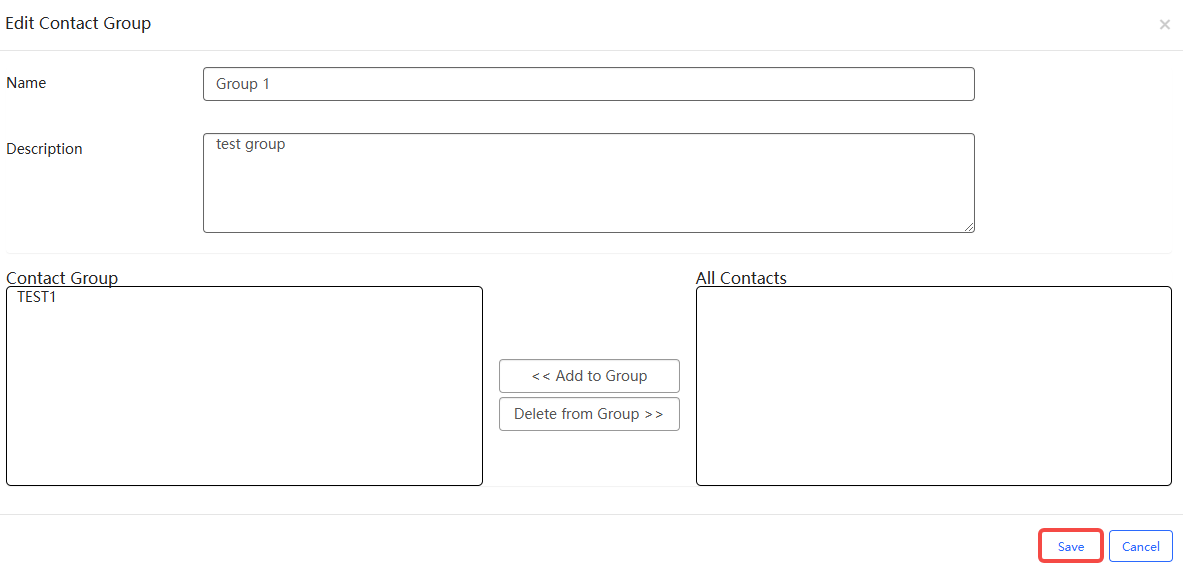
Step 11: The contact information that has been created will be displayed in the All Contacts list. Select the contact you want to add and click Add to Group to add it.
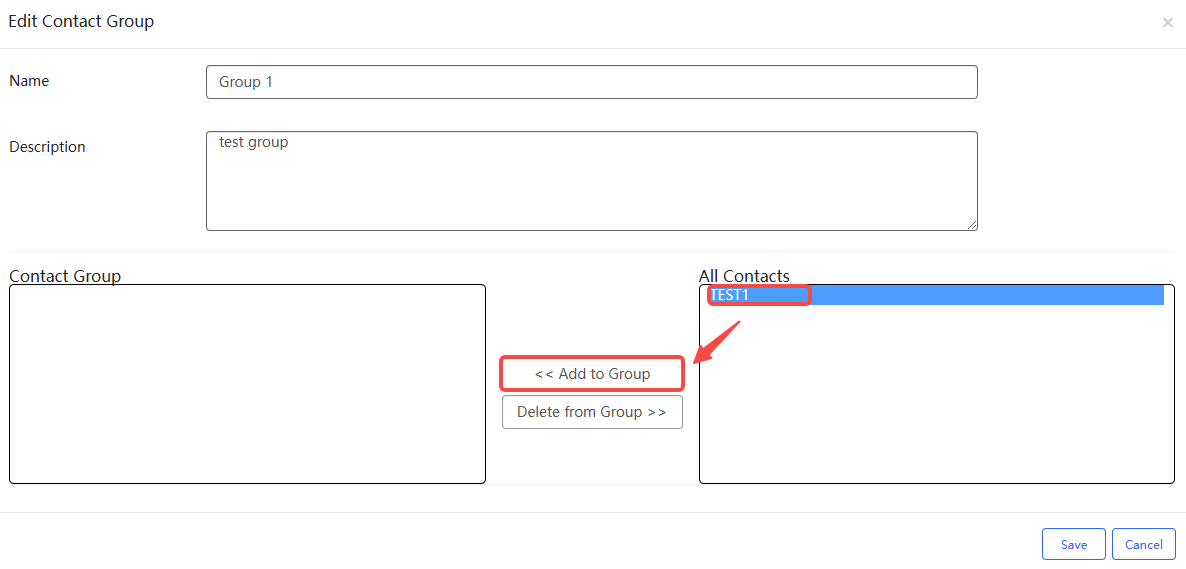
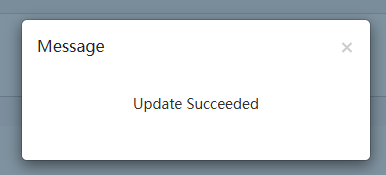
Step 12: After adding, click Save. When the “Update succeeded” prompt appears, click X to close the prompt box.
Step 13: After creating the contact and adding it to the contact group, return to the alarm setting interface. In the Contact List, click Add.
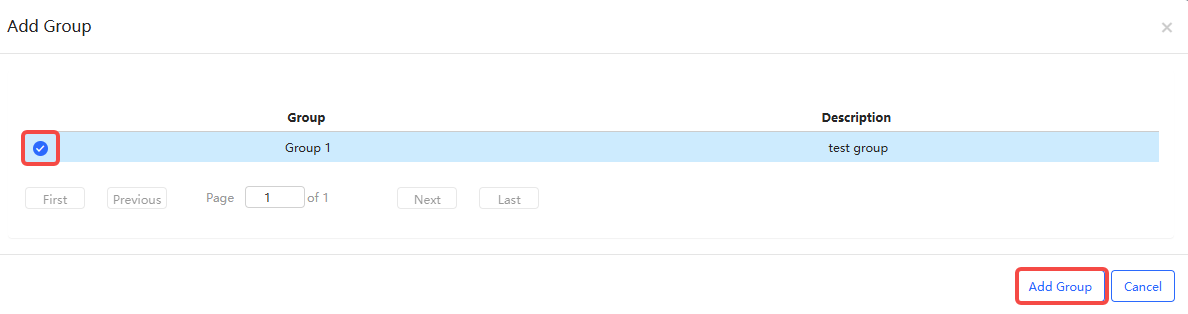
Step 14: Select the contact group you need and click Add Group.
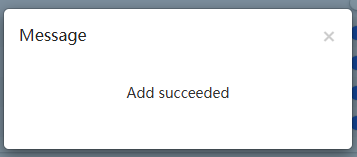
Step 15: After the “Add succeeded” prompt appears, click X to close the prompt box and complete the operation.
The added contact group will be displayed in the Contact Group List. After the contact group is added, when the device reaches the alarm condition, the alarm will be sent to the email address of the contacts in the contact group.
Note: If you enable email alarm function but do not add a contact group in the Contact Group List, you will not be able to receive alarms via emails.
全部评论