Follow the steps below to create a sub-account for a project using a new email address.
Step 1: Click Sub Account to go to the subaccount management interface.
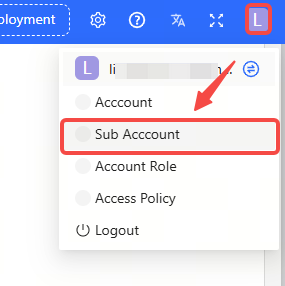
Step 2: Click Add Sub Account.

Step 3: Select New Account, and then set the project to be managed by the sub-account and fill in the subaccount information.
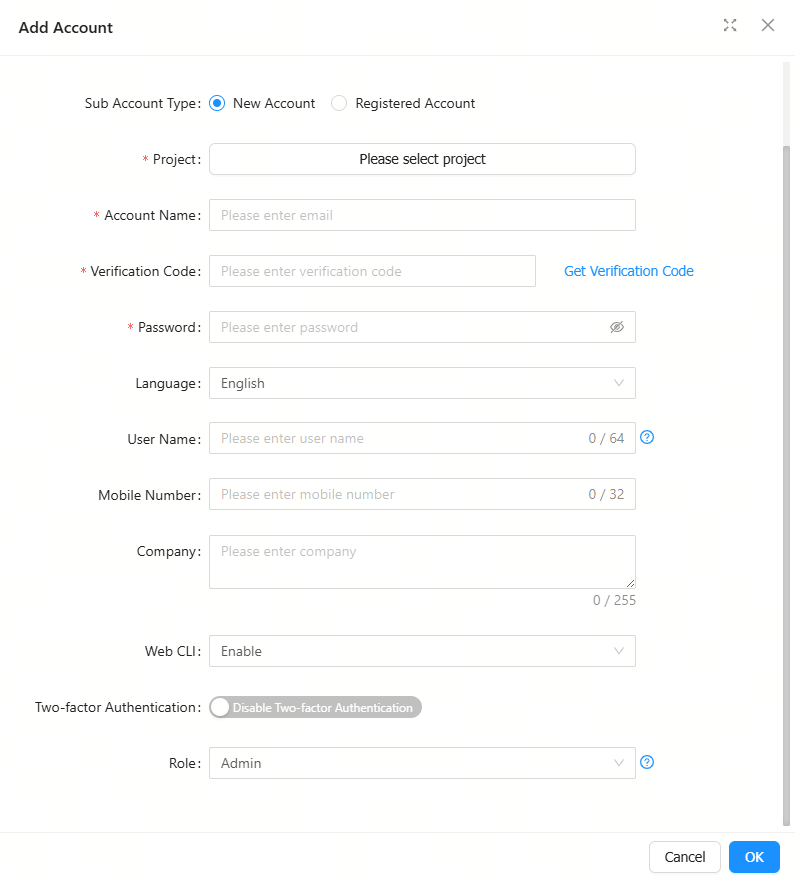
(1) Account Name: Required. Set the account name. The entered email address must have not been registered on the JaCS.
(2) Verification Code: Required. Enter the verification code sent to your mailbox.
(3) Password: Required. Set a subaccount password. The password must contain at least three of the following character types: uppercase letters, lowercase letters, numbers, and special symbols. The password length is 8-16 characters.
(4) Language: The default language is English. Japanese and Chinese are also supported.
(5) Full Name: Set the account name. If it is left blank, it will be set to the username (email address) by default.
(6) Mobile Number: Optional. Set your phone number.
(7) Company: Optional. Set company information. Up to 255 characters can be entered.
(8) Web CLI: Enable or disable Web CLI function. This function is enabled by default.
(9) Two-factor Authentication: Enable or disable two-factor authentication.
(10) Role: Set the subaccount role. Four roles are supported by default:
For specific operation steps for customizing roles, please refer to Customizing Sub-account Roles.
Note: If the sub-account only needs reading permissions, you need to set the Web CLI to "Disable". If the sub-account needs operation permissions, set the Web CLI to "Enable" and set the role to "admin".
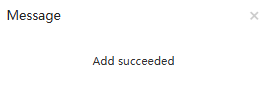
Step 4: After filling in the information, click Save to save it. When the "Added succeeded" prompt appears, click X to close the prompt box and complete the operation. The added sub-account will be displayed in the sub-account list.
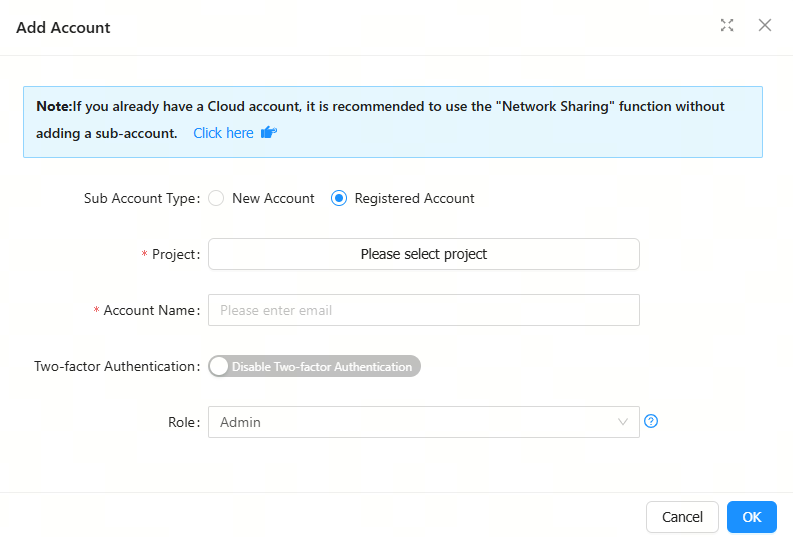
To set an existing account to be sub-account to manage projects:
Step 1: Click Add Sub Account.

Step 2: Select Existing Account, enter the email address, set the role, and click Save to complete the operation.
全部评论