Once an initial configuration template is applied to a project, Ruijie JaCS will send the configuration in the template to the APs in the project when they go online for the first time. Currently, this function only supports RG-AP180 series access points, and RG-MA3511 series products.
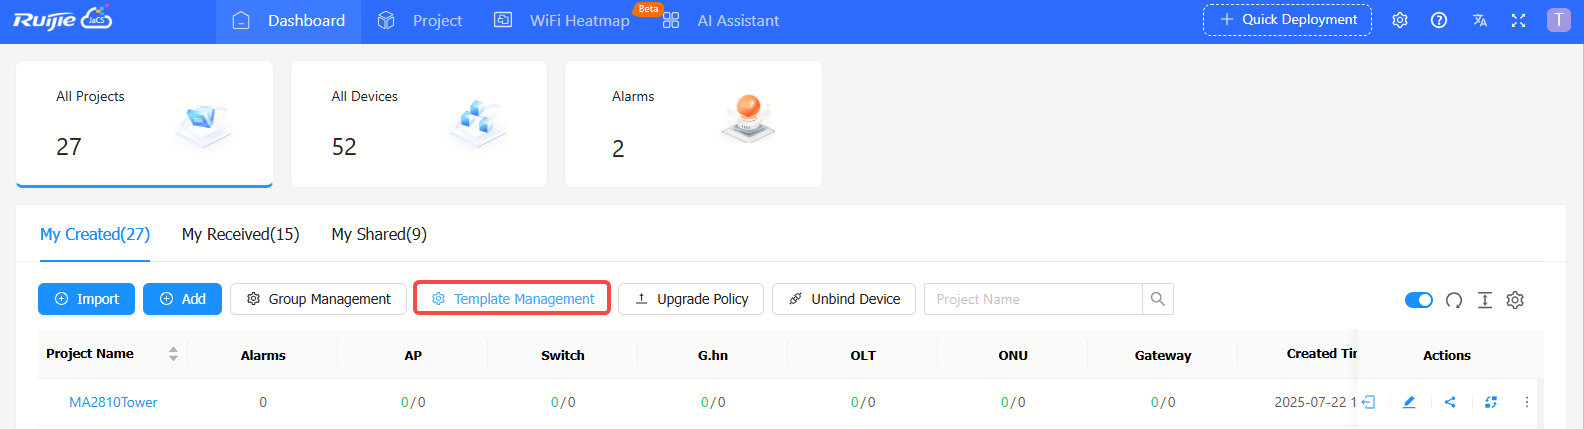
Navigate to Dashboard > My Created > Template Management to enter the initial template configuration management interface. And then follow the steps below to create an initial configuration template:
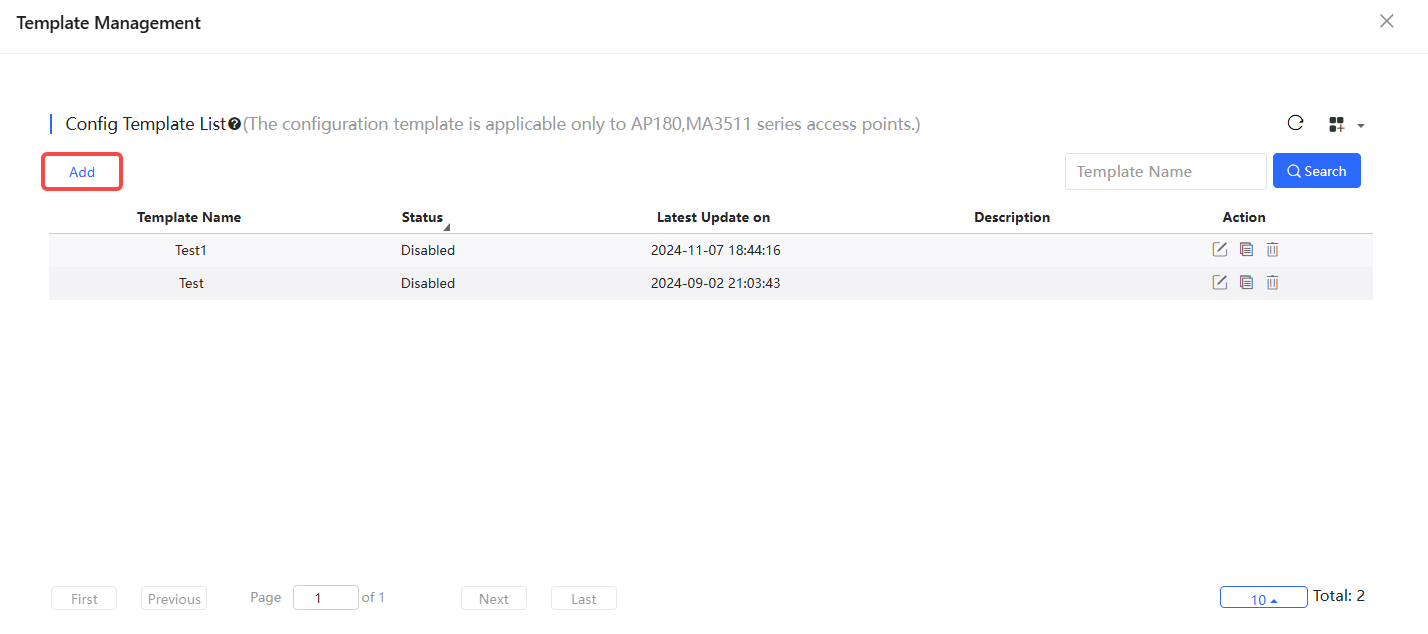
Step 1: Click Add.
Step 2:Enter the template name (required), template description (optional), select the template status, and then click Save.
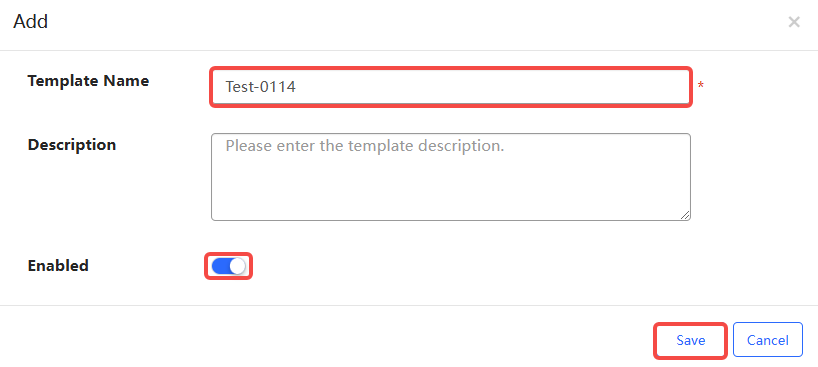
(1) The template is disabled be default.
(2) The length of template name cannot exceed 64 bytes, and the length of the description cannot exceed 128 bytes.
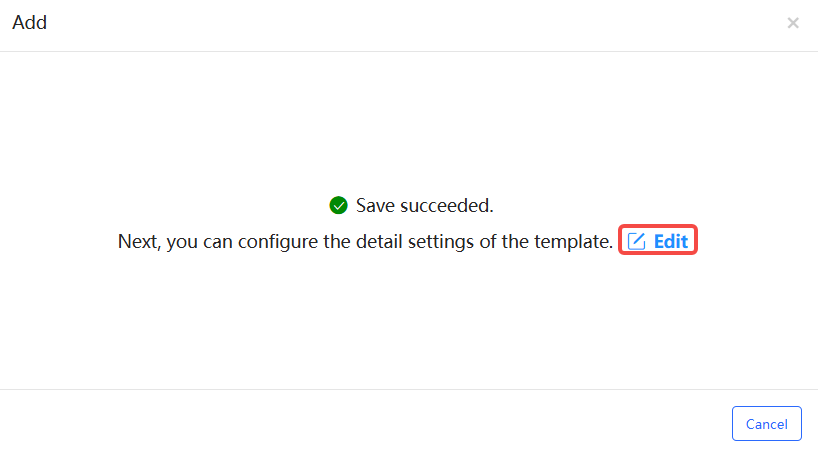
Step 3: After saving the template, click Edit to further configure the template.
Step 4: Set the initial template configuration as needed. After the specifying the configuration, click Save.
The initial configuration template consists of the following parts: template basic information, basic configuration, wireless configuration, security configuration, factory configuration and other configuration interfaces.

(1) Template Information
In the template configuration tab, you can modify the template name, template description and template status. After modifying the information, click Save.
(2) Basic Configuration
The Basic configuration tab includes wireless configuration, network settings, security settings and advanced settings. The specific configuration items are as follows:
WPS: The WPS is enabled by default. WPS, or Wi-Fi Protected Setup, is a network security designed to simplify the process of connecting devices to a secure wireless network. It was developed by the Wi-Fi Alliance to make it easier for users to set up and manage their Wi-Fi networks without needing to remember complex passwords or go through complicated configuration processes.
Encryption: Defaults: Open; Options: Open, WPA -PSK, WPA2-PSK, and WPA/WPA2-PSK
ON/OFF: Radio frequency switch button. Radio 1 (2.4GHz) and Radio 2 (5GHz) are enabled by default.
SAT Limit: (Optional) Set the limited number of SATs allowed to access the AP. Range: 1-100.
Bandwidth: Defaults: Radio1 (2.4GHz) —— 20 MHz ; Radio2 (5GHz) —— 20/40/80MHz. Options: Radio1 (2.4GHz): 20 MHz and 20/40 MHz; Radio2(5GHz): 20 MHz; 40 MHz; 80 MHz; 20/40 MHz; 20/40/80 MHz; 20/40/80/160 MHz
Channel: Defaults: Radio1(2.4GHz) —— Auto (CH1-11) ; Radio2(5GHz) —— Auto (W52+W53+W56). Options: Radio1(2.4GHz): Auto (CH1-11); Auto (CH1-13). Radio2(5GHz): Auto (W52+W53); Auto (W52); Auto (W52+W53+W56)
DNS 1: (Optional) Set the preferred DNS.
DNS 2: Set the alternative DNS.
User name: Set the eWeb login account name. Default username: admin
eWeb: Set the login password for eWeb. The password length must range from 8 to 31 characters. The supported characters include letters, numbers, and special characters (@!*#<>=[]()._-).
Config Delivery: This feature is disabled by default. It is not recommended to enable this feature. If this feature is enabled and a Telnet password is configured, the Telnet password will be sent to the device. If this feature is enabled but a Telnet password is not configured , the Telnet password configuration of the device will be cleared.
IPv6 Pass-through: You can configure the IPv6 pass-through function to control the device's ability to forward IPv6 packets. If the IPv6 pass-through function is disabled, the device will discard received IPv6 packets, thus preventing irrelevant IPv6 packets in the network from occupying device operating resources and affecting network performance. Options: Gi0/1(WAN), Gi0/2(LAN) and SSID
Time Synchronization: This feature is enabled by default. When the time synchronization is enabled, the device time can be synchronized through the NTP protocol so that the device time will be consistent with the time on the NTP service.
(3) Wireless Configuration Tab
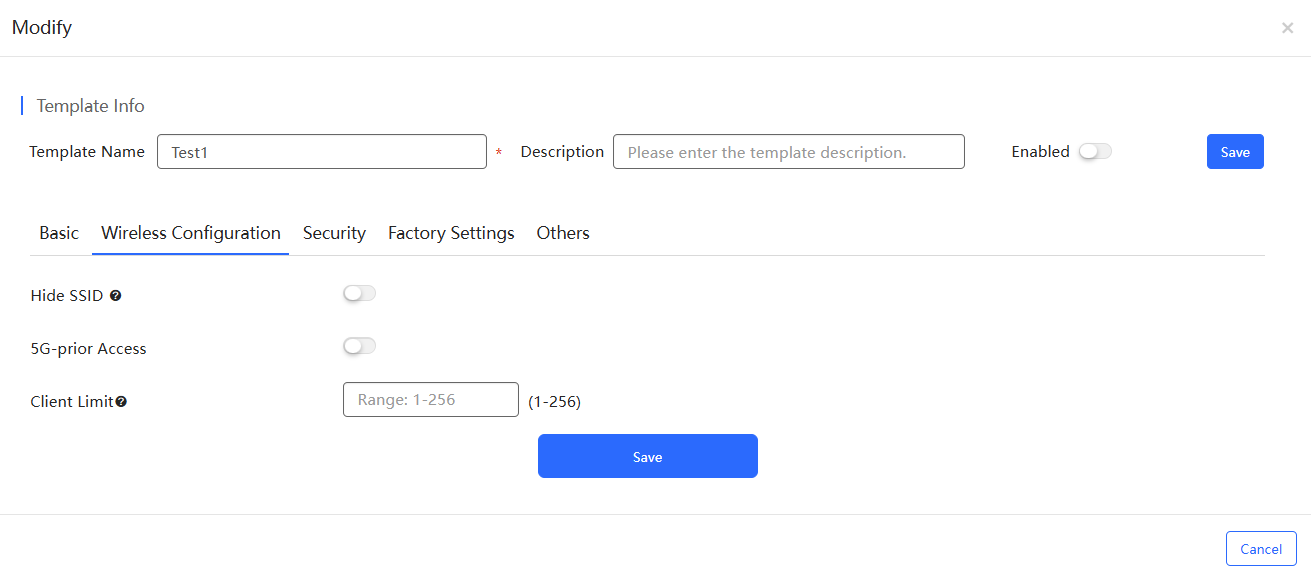
Hide SSID: Disabled by default.
5G-prior Access: Disabled by default. When the 5G-prior access is enabled, the device preferentially guides clients to access the 5GHz band.
Client Limit: (Optional) Set the limited number of clients that can be connected to each AP (Range: 1-256). If it is left blank, it means that no number limit.
(4) Security Configuration Tab
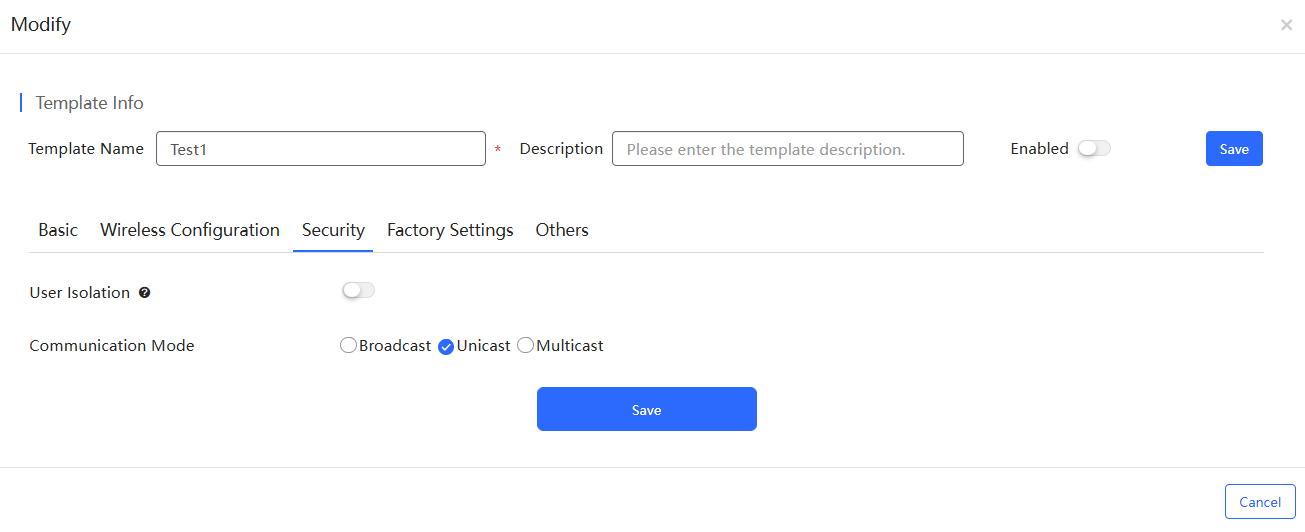
User Isolation:Disabled by default. Currently only supports Layer 2 isolation. When user isolation is enabled, intra-SSID isolation, inter-SSID isolation, and LAN - WLAN isolation are automatically enabled by default.
Inter-SSID: When the inter-SSID isolation is enabled, clients under different SSIDs will not be able to communicate with each other.
Intra-SSID: When the intra-SSID isolation is enabled, clients under the same SSID will not be able to communicate with each other.
LAN-WAN: When the LAN-WAN isolation is enabled, clients under the LAN and SSID will not be able to communicate with each other.
Communication Mode: The defualt mode is unicast. Options: Broadcast/Unicast/Multicast
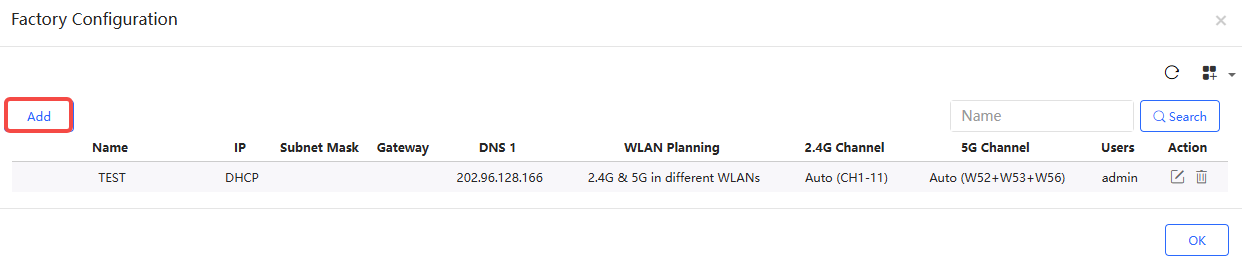
(5) Factory Configuration Tab
The factory settings refer to the configurations kept after the device is restored to factory settings. The factory settings take effect only after resetting the device by pressing its reset button. After the factory settings take effect, all global configurations and other configurations will be cleared.
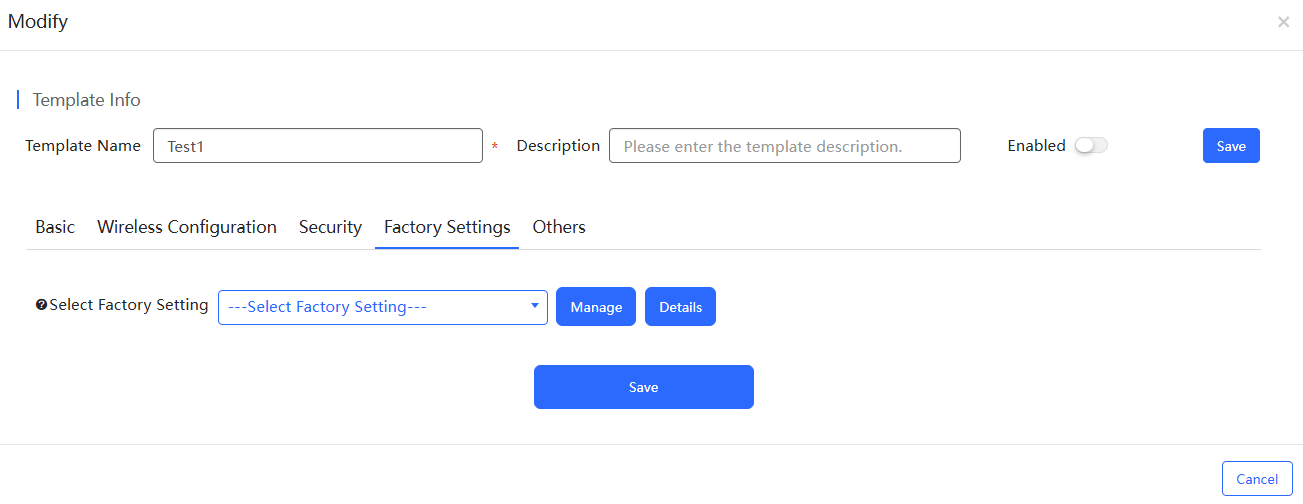
You can use an existing template or click Manage to create a new one. The specific steps are as follows:
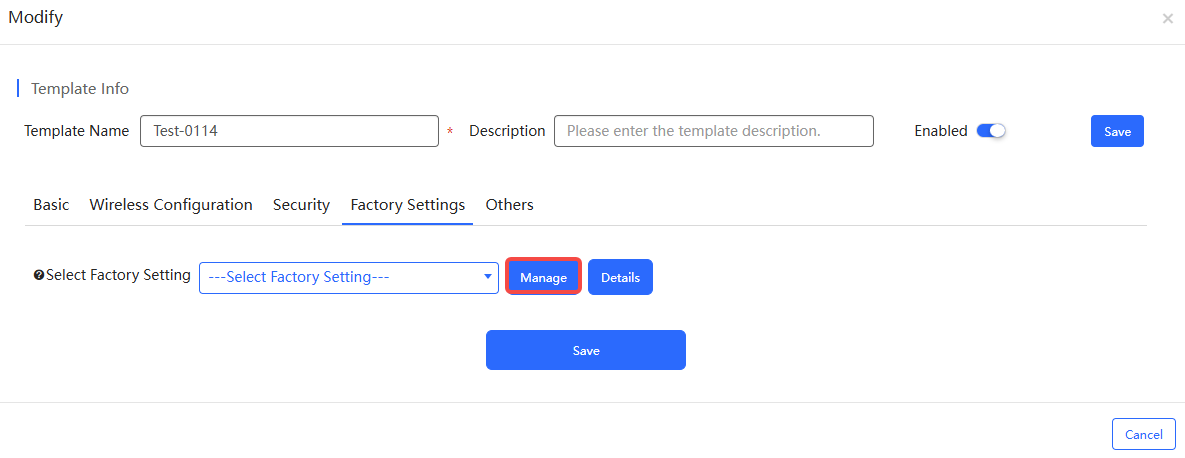
① Click Add to enter the template creation interface.

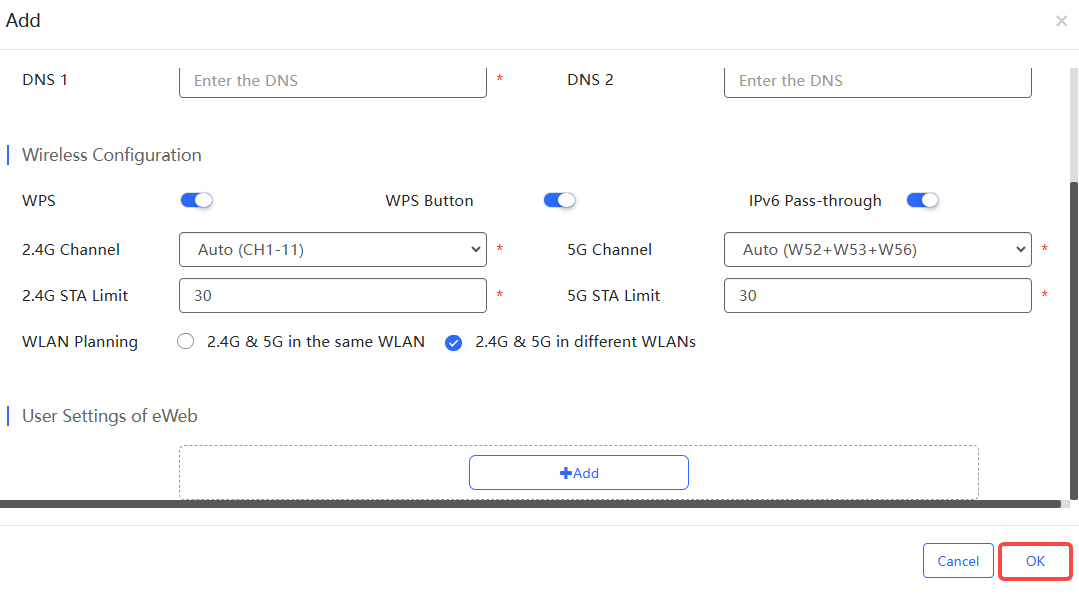
Name: (Required) Specify the template name.
IP: (Optional) Specify the IP address. Supports configuring static IP or obtaining IP address through DHCP.
Subnet Mask: (Required) Specify the subnet mask.
DNS 1: (Required) Set the preferred DNS.
DNS 2: (Optional) Set the alternative DNS address.
WPS: Enabled by default.
WPS Button: Enabled by default. This botton is used to control whether the WPS button on the device panel works.
IPv6 Pass-through: Enabled by default.
2.4G Channel: Default value: Auto (CH1-11). Options: Auto (CH1-11) /Auto (CH1-13)
5G Channel: Default vlaue: Auto (W52+W53+W56). Options: Auto (W52+W53); Auto (W52); Auto (W52+W53+W56)
2.4G STA Limit: (Required) Set the limit number of STAs allowed to access 2.4 GHz. The default value is 30.
5G STA Limit: (Required) Set the limited number of STAs allowed to access 5GHz. The default value is 30.
WLAN Planning: Defaults: 2.4G and 5G are in different WLANs. Options: 2.4G & 5G in the same WLAN; 2.4G & 5G in different WLANs.
Username: The default username is admin.
Password: Set the password for the admin user.
② After filling in the required information, click OK to save the factory configuration template.
③ Once a template is created, it will be displayed in the list. Click OK to return to the factory setting page.
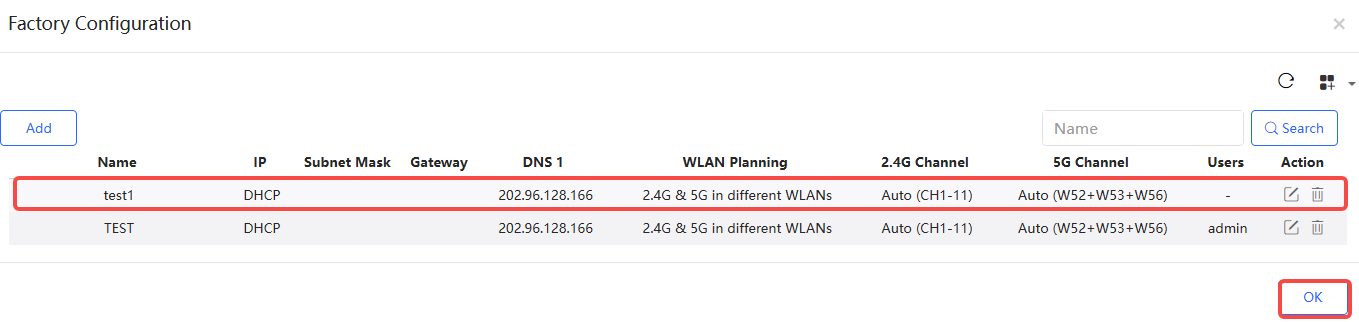
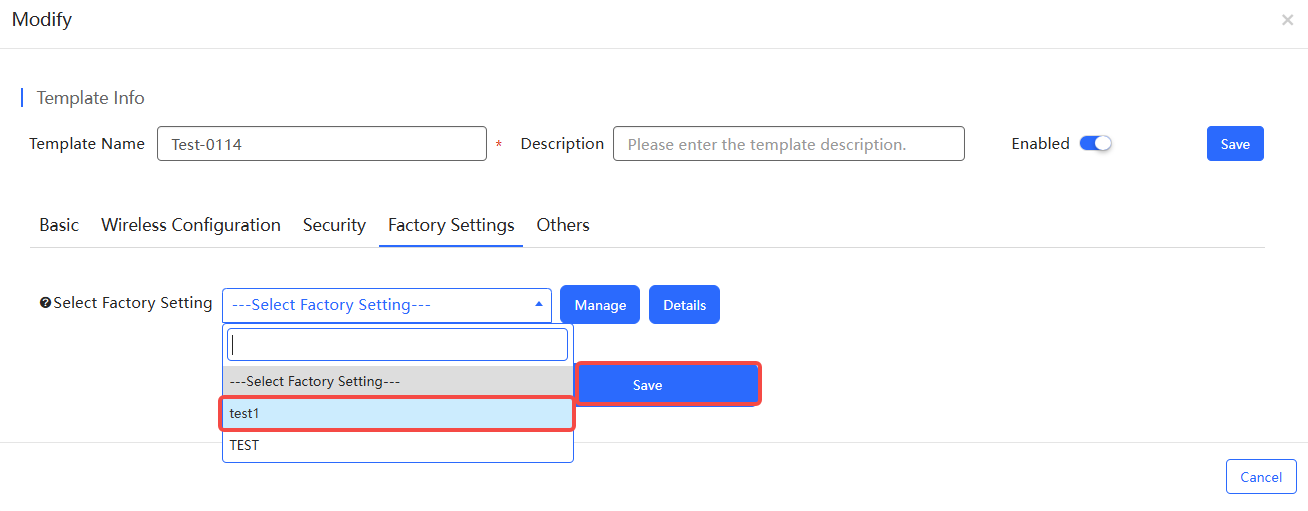
④ Pull down the selection box and select the newly created template, and then click Save.
After restoring factory settings, you need to press the device's reset button to make the factory settings take effect. After the settings take effect, all global configurations and other configurations will be cleared.
If you change the factory settings of the template, it will take effect in all projects to which the template is applied. Only the factory setting template that has not been applied can be deleted.
(6) Other Configuration Tabs
The Other configuration tab supports setting scheduled restarts, managing LED lights, and remotely disabling or enabling the buttons on the device.
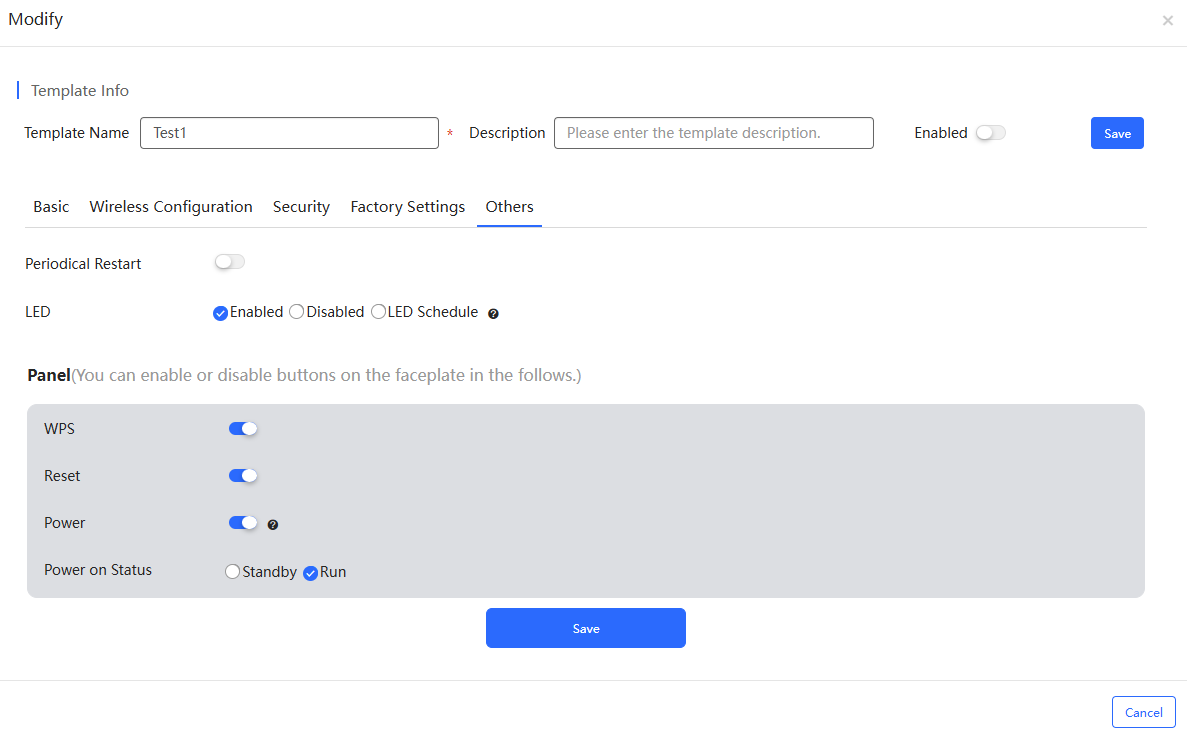
Periodical Restart: Restart the switch in a specific time. This function is disabled by default. After it is enabled, you can configure the scheduled restart policy. Currently, two types of policies are supported, simple policy and complex policy. Simple policy can specify a fixed time of a day to restart the device. Complex policy can specify a certain time of day to restart the device every week. Click the + icon to add multiple time periods.
LED: The LED is enabled by default. You can specify a time period from Monday to Sunday to turn the LED on at a scheduled time. Click the + icon to set multiple time periods.
Panel: On the Panel interface, you can turn on or off the device's WPS button, reset button and power button, and set the power status. The WPS button, reset button, and power button are turned on and the power state is set to running by deault.
Click the buttons in the Action column to edit, copy and delete a template.
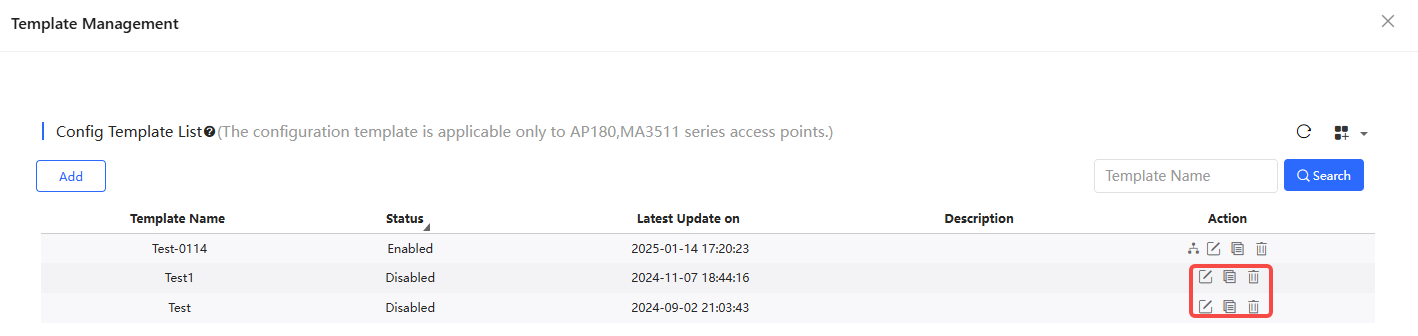
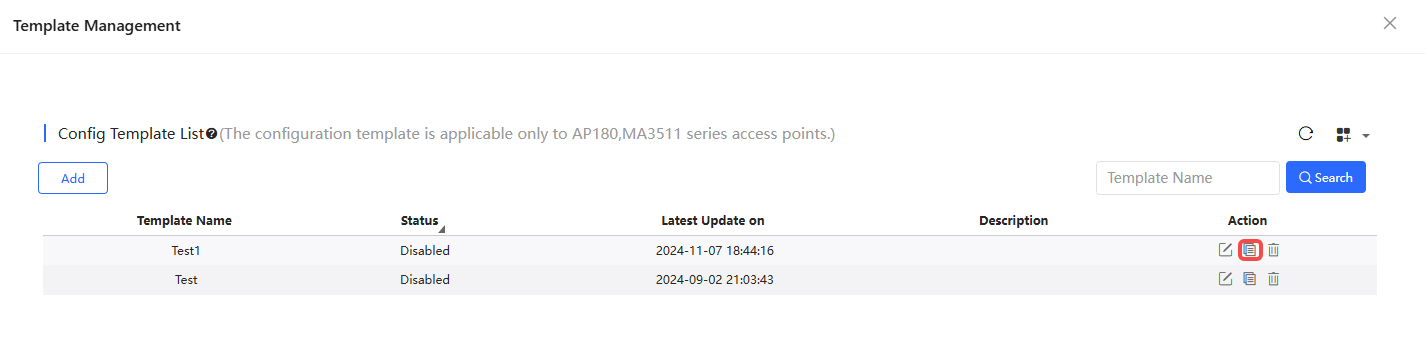
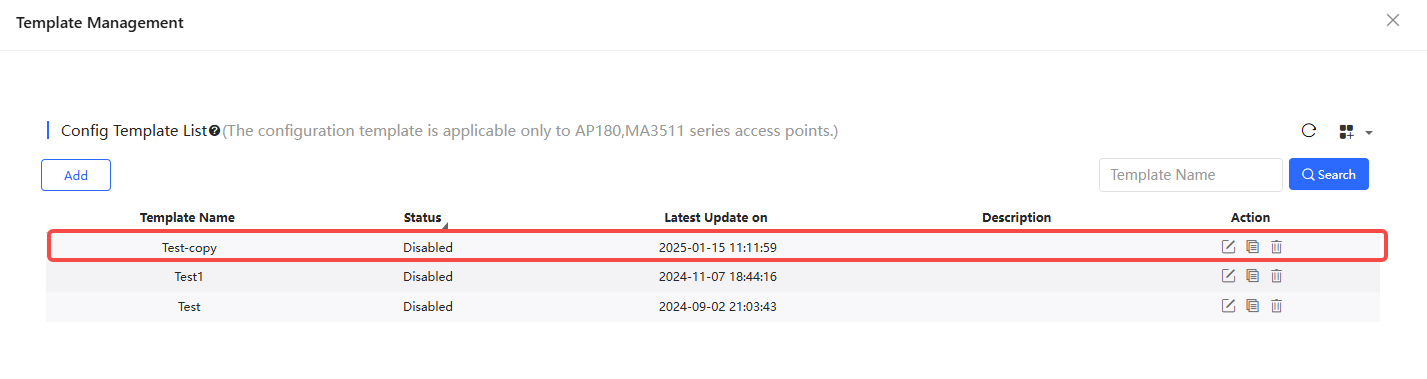
Step 1: Click the copy button in the Action column of the template you want to copy.
Step 2: Enter a new template name (required) and description (optional), then click Save.
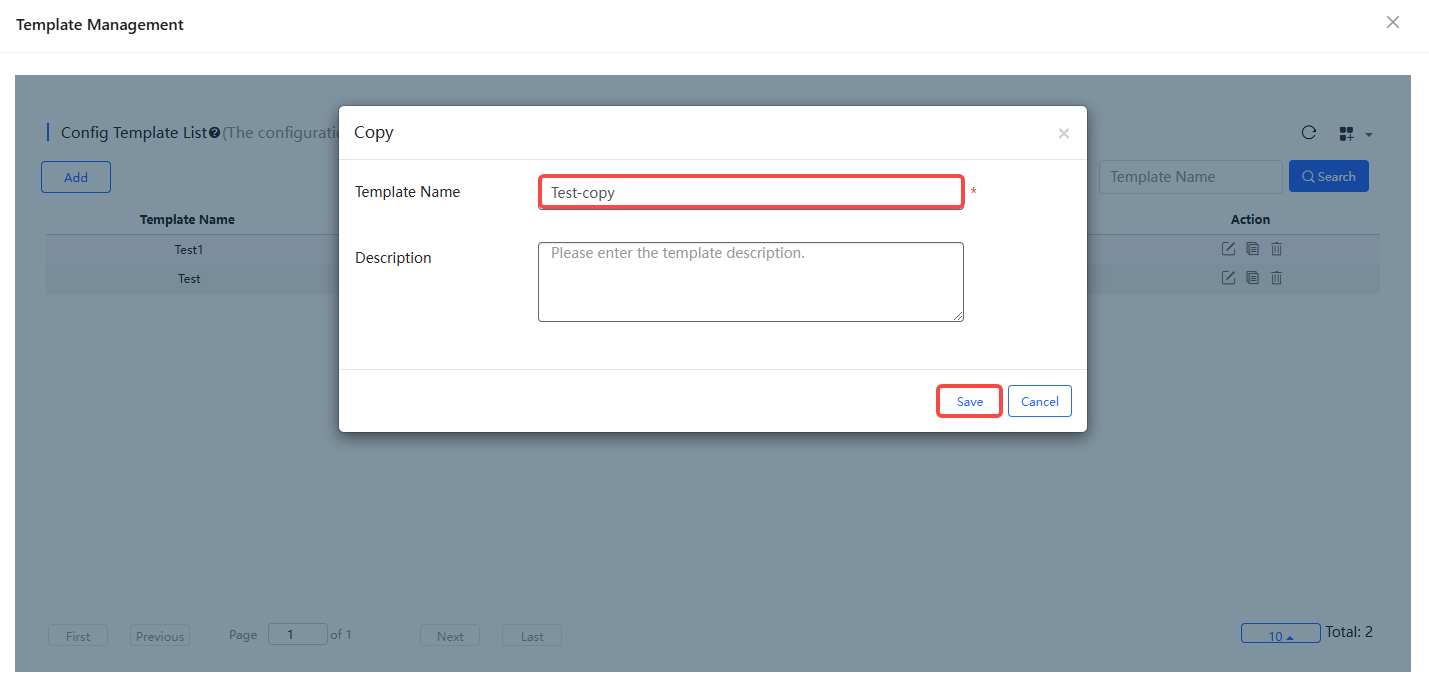
Step 3: The copied initial configuration template will be displayed in the list. Except for the template name and description, the other configurations of the copied template are the same as the original one.
Initial configuration templates can only be used for configuring AP180 series access points now. The RG-MA3511 series devices will be supported in the future. When an initial configuration template is applied to a project, the configuration set in the template will be delivered to all AP180 series access points in this project when they go online for the first time.
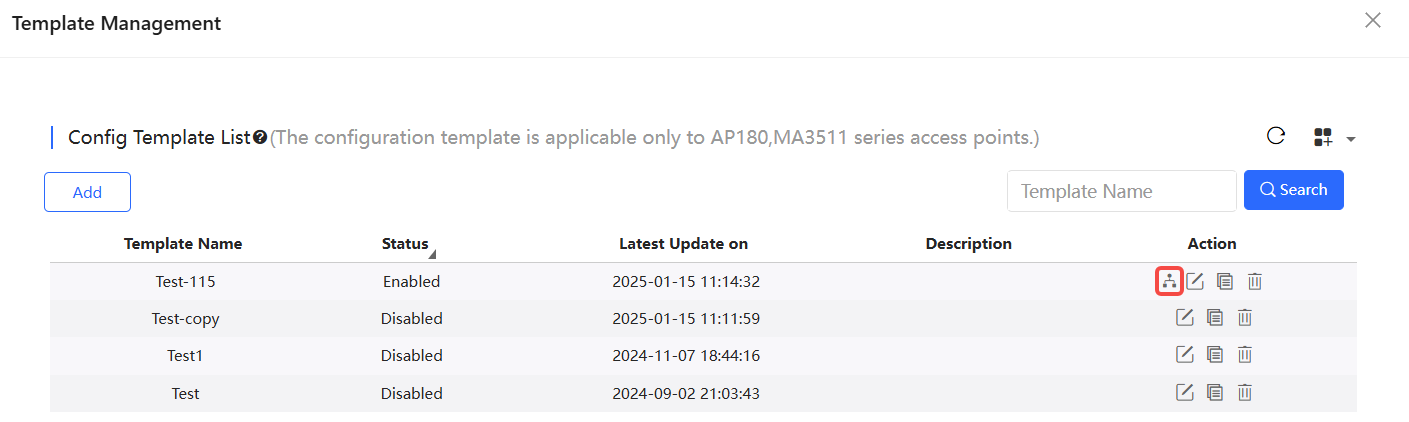
To apply a template to a project:
Step 1: Click the  in the Action column of the template.
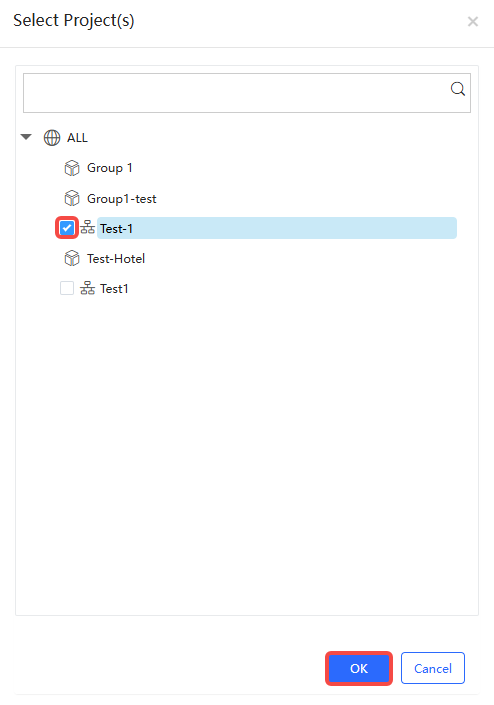
Step 2: Select the project and click Save.
Step 3: When the confirmation prompt box appears, click OK.
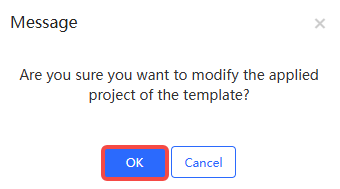
Step 4: When the "Succeeded" prompt appears, the operation is completed.

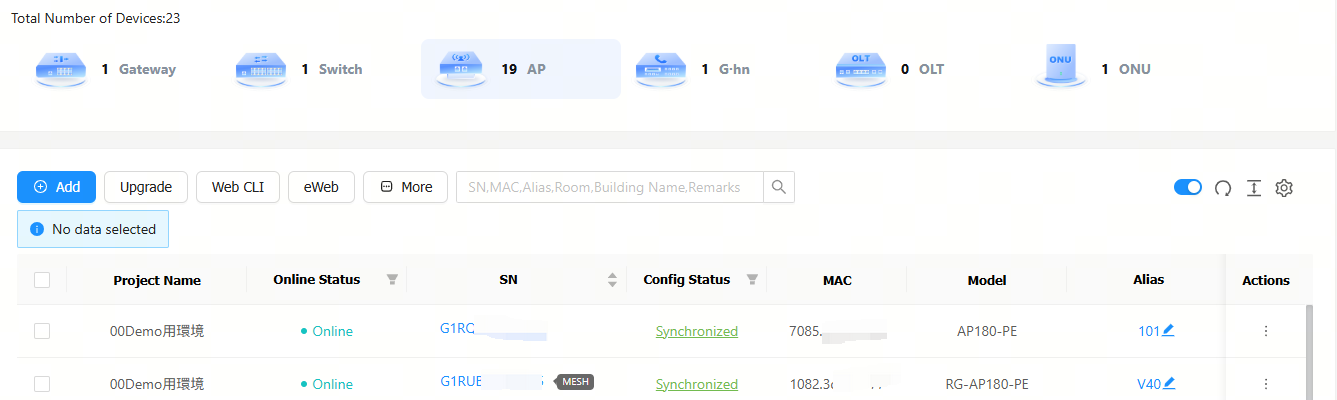
To apply a template to a specific device:
Step 1: Enter the AP management page.

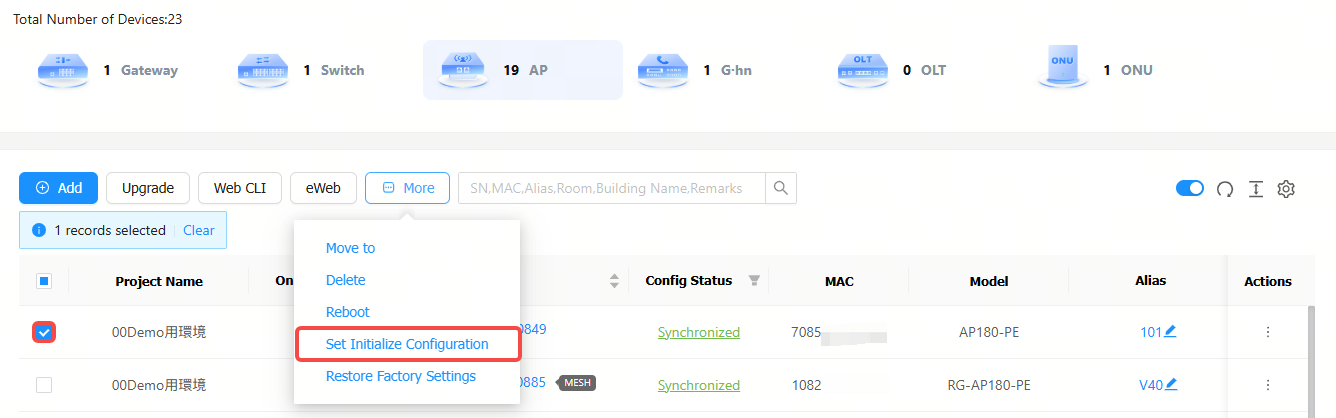
Step 2: Select an AP180 device for which the configuration template should be initialized.
Step 3: Click More, and select Set Initialize Configuration.
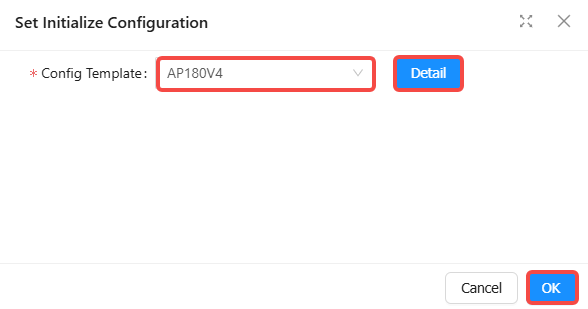
Step 4: Select an initial configuration template, and then click OK. To view and modify the initial configuration template information, click Detail.
Step 1: Click the delete icon in the Action column of the template to be deleted.
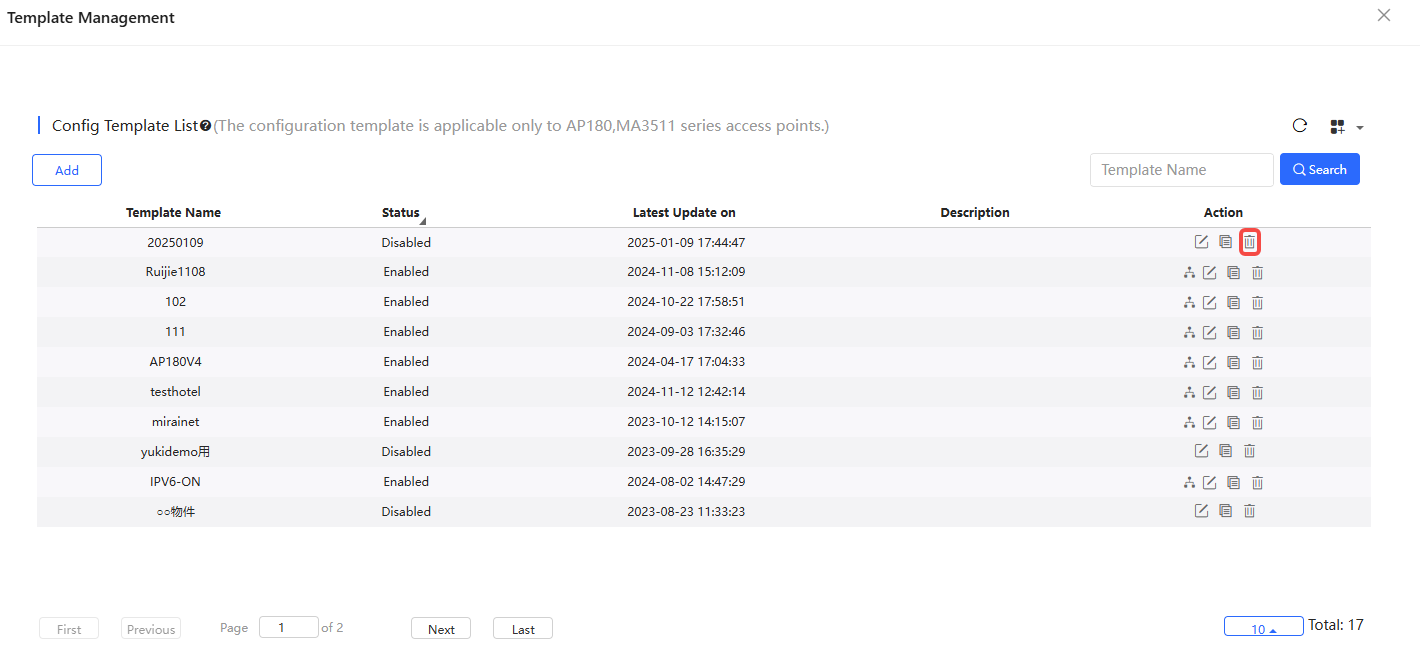
Step 2: When the confirmation box appears, click OK.
全部评论