Follow the steps below to set the SSID and the password of an AP:
Step 1: Click Project to go to the project management interface, and then select a project that the scenario is set to apartment.

Step 2: Click Device Config > Basic to enter the configuration page.
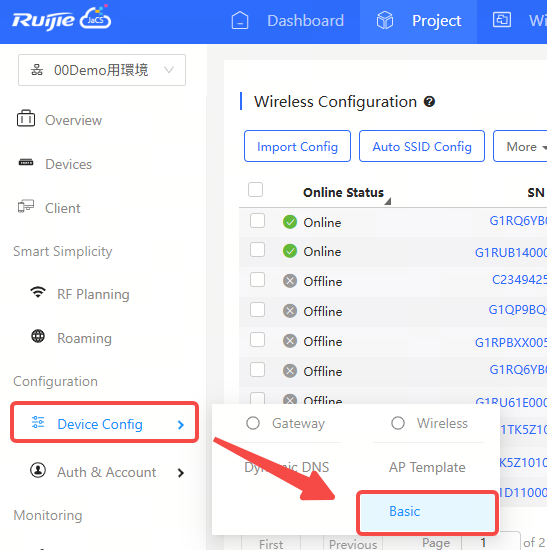
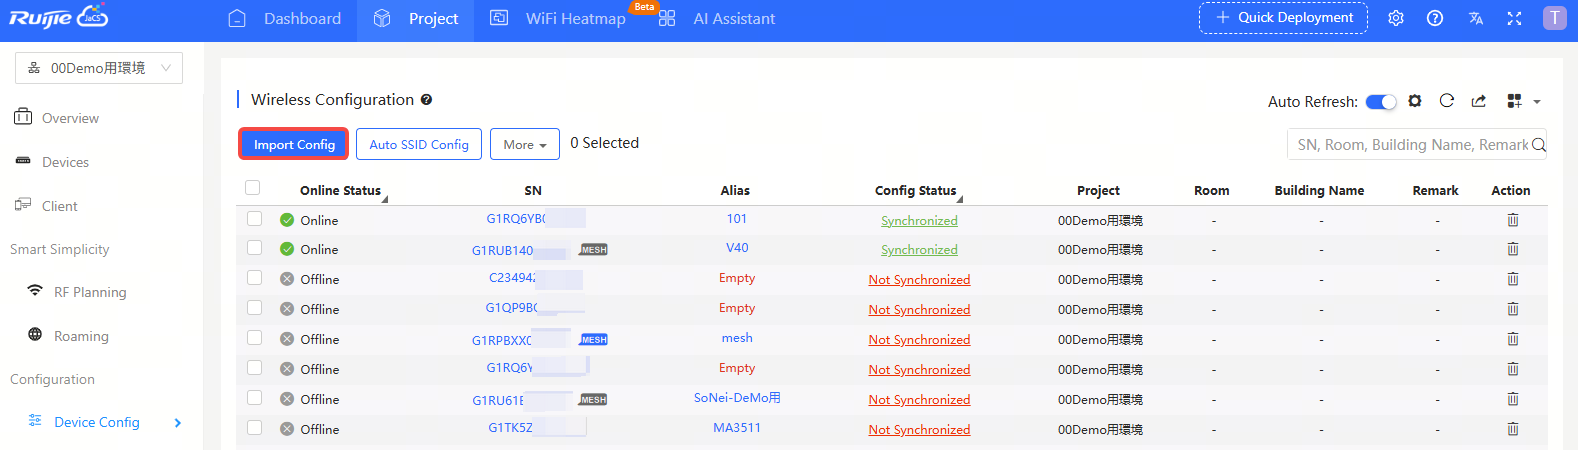
Step 3: Click Import Config to manually configure the SSID and the password. After the device is connected to the cloud, the configuration will be delivered to the device directly.
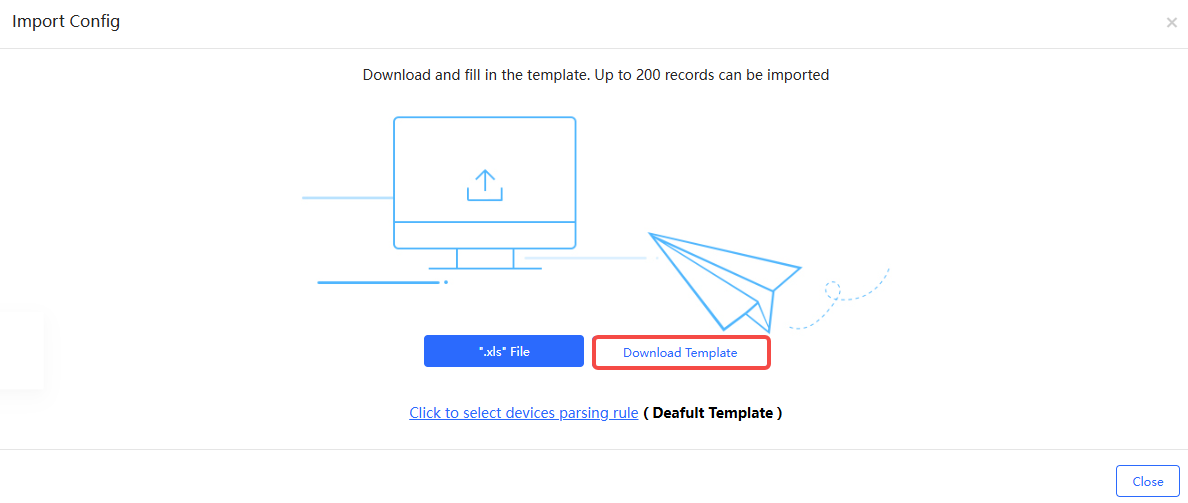
Step 4: Click Download Template to use the system default template for configuration or use a custom configuration template.
Introduction to the system default template:

(1) Model: (Optional) Enter product models. For example: AP520-I.
(2) SN: (Required) Enter SNs. The length of a SN should range from 6 to 20 characters. For example: G1PD7PW00060B
(3) MAC: (Optional) Enter MAC addresses of devices.
(4) PN: Enter part numbers. This field can be ignored.
(5) 2.4G_SSID/5G_SSID: (Required) Enter SSIDs. A SSID is 4 to 32 characters and supports letters, numbers, and special symbols ("_", "-", "." or "@"). When setting multiple SSIDs, separate them with commas(,), such as “ssid-test1, ssid-test”.
(6) 2.4G_SSID Password/5G_SSID Password: (Required) Set passwords. A password is 8 to 32 characters and supports letters, numbers and special symbols (@!*#<>=[]()._-) . When setting multiple passwords, separate them with commas(,), such as “8888888rrrrr , 999999ddddd”.
(7) Alias: (Optional) Up to 64 characters are supported.
(8) Room: (Optional) Specify the room number where the AP is located. Support 1-32 characters. For example: 301.
(9) Building Name: (Optional) Specify the building name. Supports up to 32 characters.
(10) Remark: (Optional) Up to 32 characters can be entered.
Note: Up to 200 devices can be configured by using the template each time.
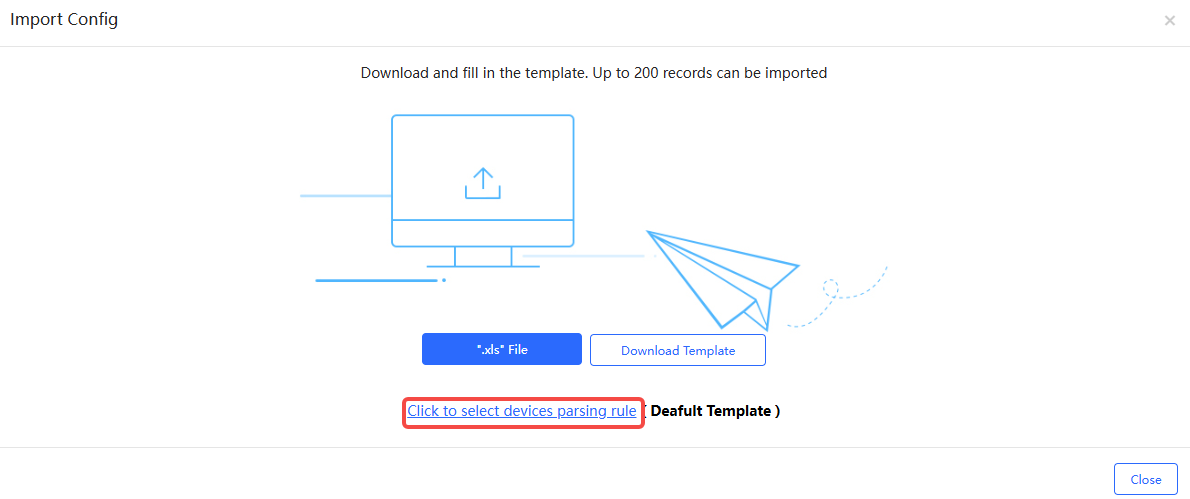
If you do not want to use the default template, you can customize the template by the following steps:
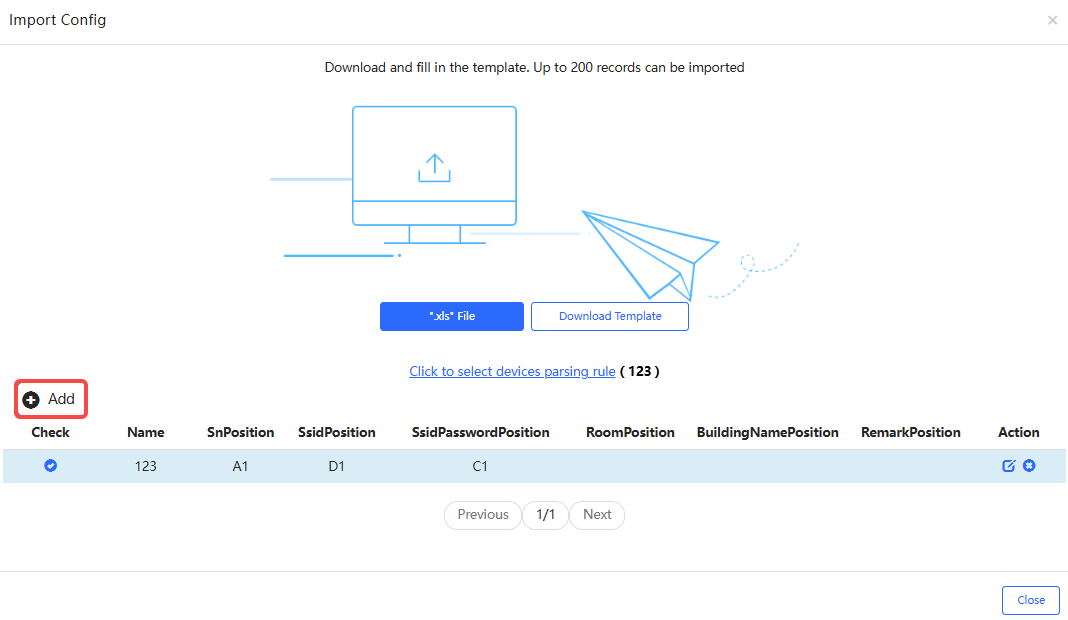
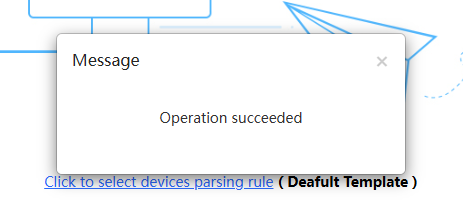
① Click "Click to select devices parsing rule".
② Click + Add to add a new parsing rule or use the default parsing rule. The defalt parsing rule cannot be deleted.
Item Description:
(1) Name: Specify the template name.
(2) SnPosition: Specify the column where the SNs are located in the template.
(3) SsidPasswordPosition: Specify the column where the SSID passwords are located in the template.
(4) RoomPosition: Specifies the column where the room numbers are located in the template.
(5) BuildingNamePosition: Specifies the column in the template where the building names are located in the template.
(6) RemarkPosition: Specifies the column where the remarks are located in the template.
Notes:
③ After setting the rules, click the save icon. When "Do you want to save the parsing rule" appears, click OK.


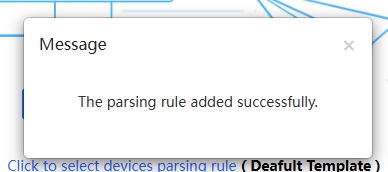
④ After the prompt "The parsing rule added successfully " appears, the rule is added successfully.
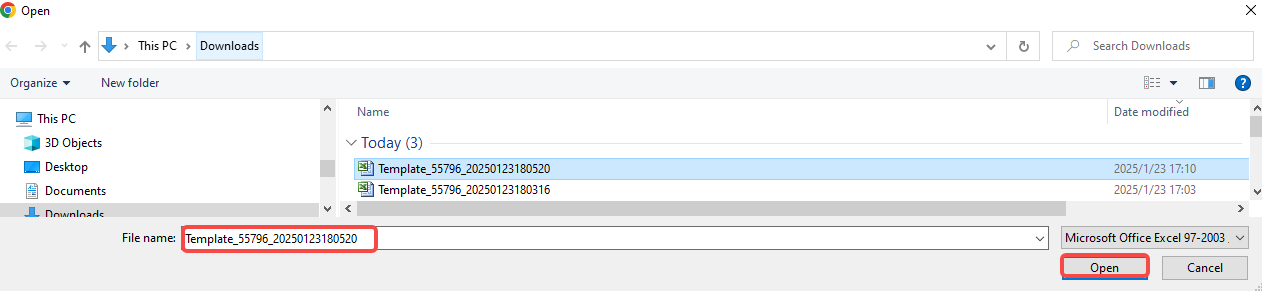
Step 5: Create a new .xls document, and fill in the relevant information in the corresponding position. (Here takes the default template as an example)

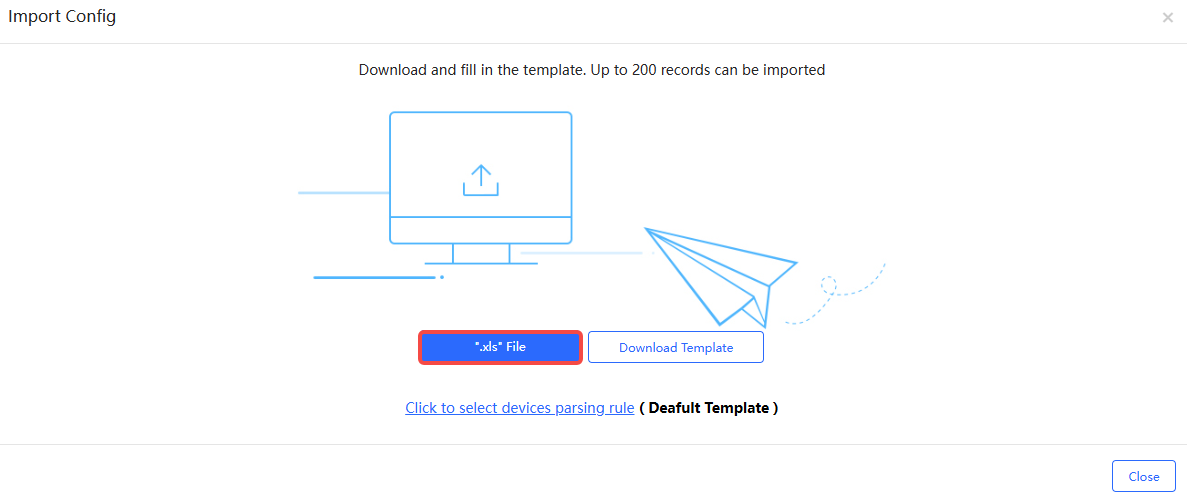
Step 6: Click “.xls” File to upload the template.
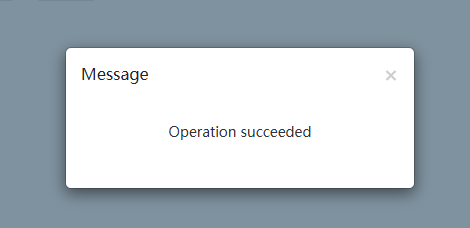
Step 7: After the "Operation successful" prompt appears, the operation is finished.
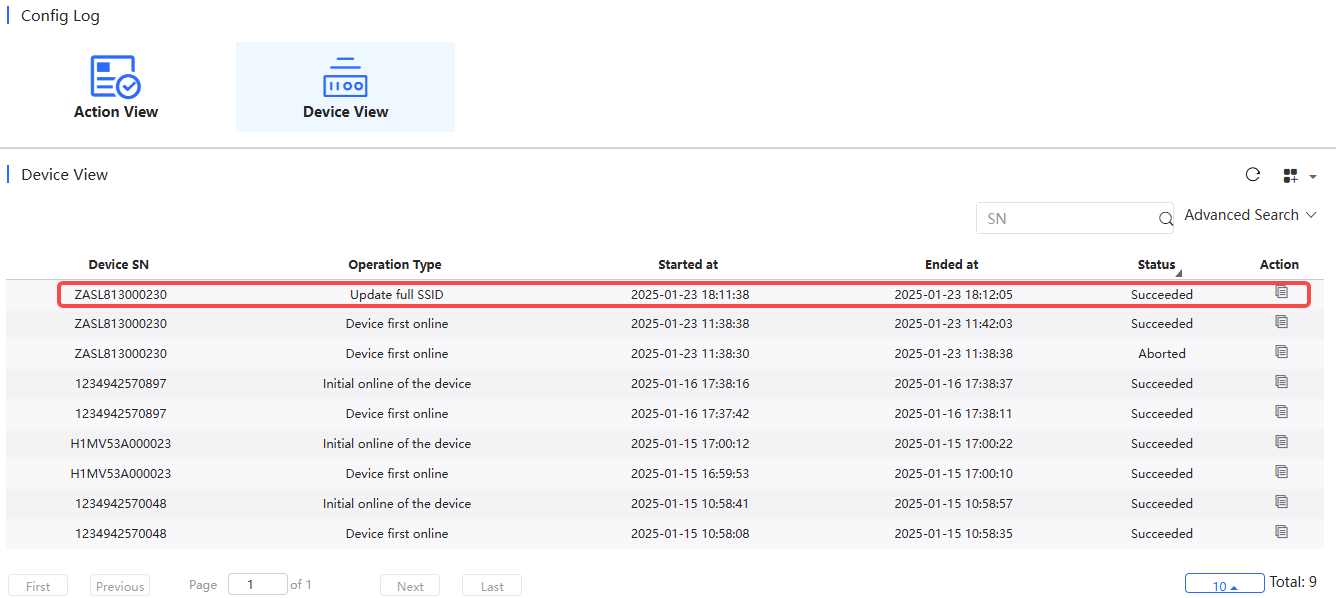
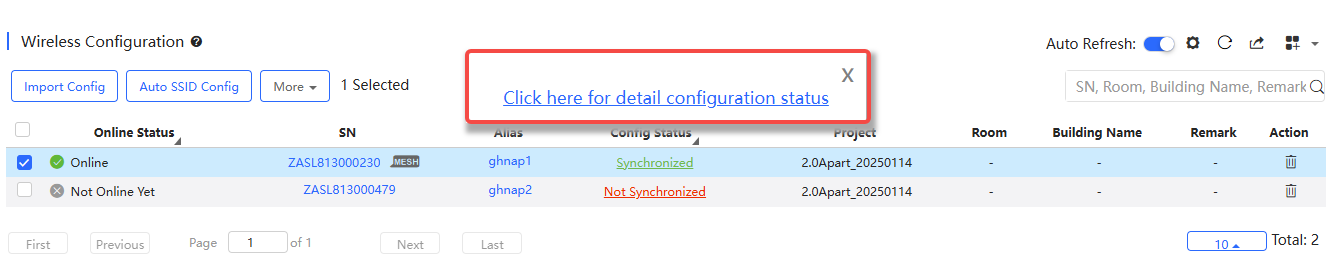
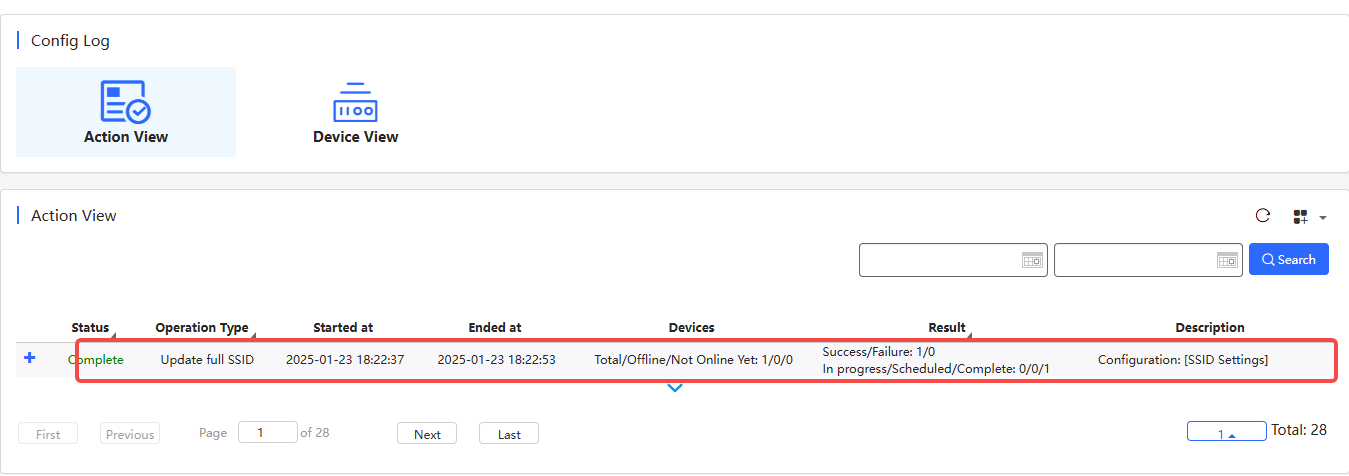
Step 8: After the configuration is completed, a link "Click to view detailed configuration information" will appear on the interface. Click the link to jump to the configuration log interface.

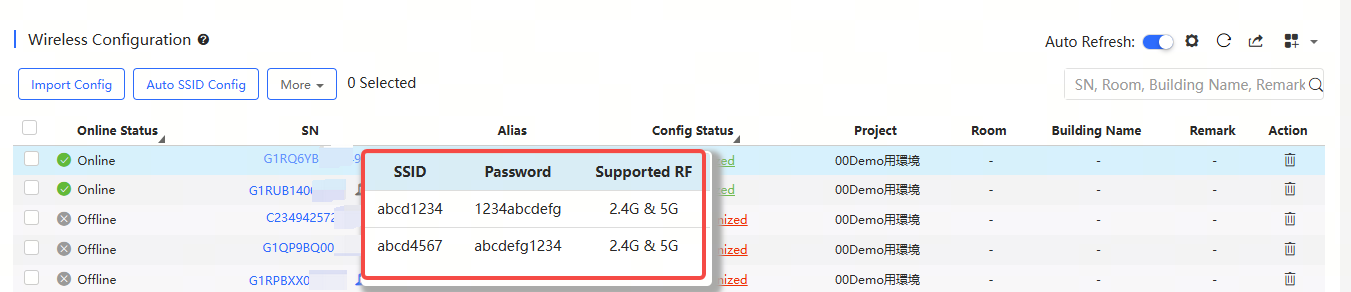
In addition, after the configuration is completed, you can hover the mouse over the SN of the device to view the configured SSID, password, and RF supported by the device.
Follow the steps below to automatically configure SSIDs and passwords:
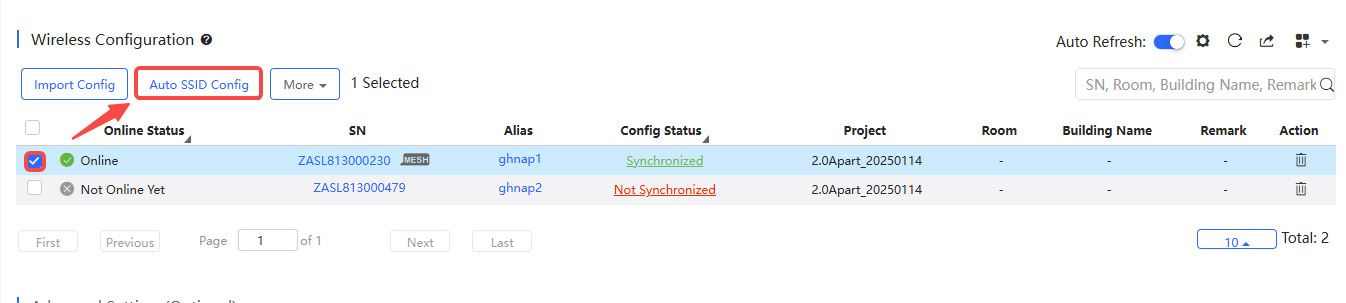
Step 1: Select a device or several devices to be configured, and then click Auto SSID Config.
Step 2: Select "Only regenerate passwords" or "Regenerate SSIDs and passwords".
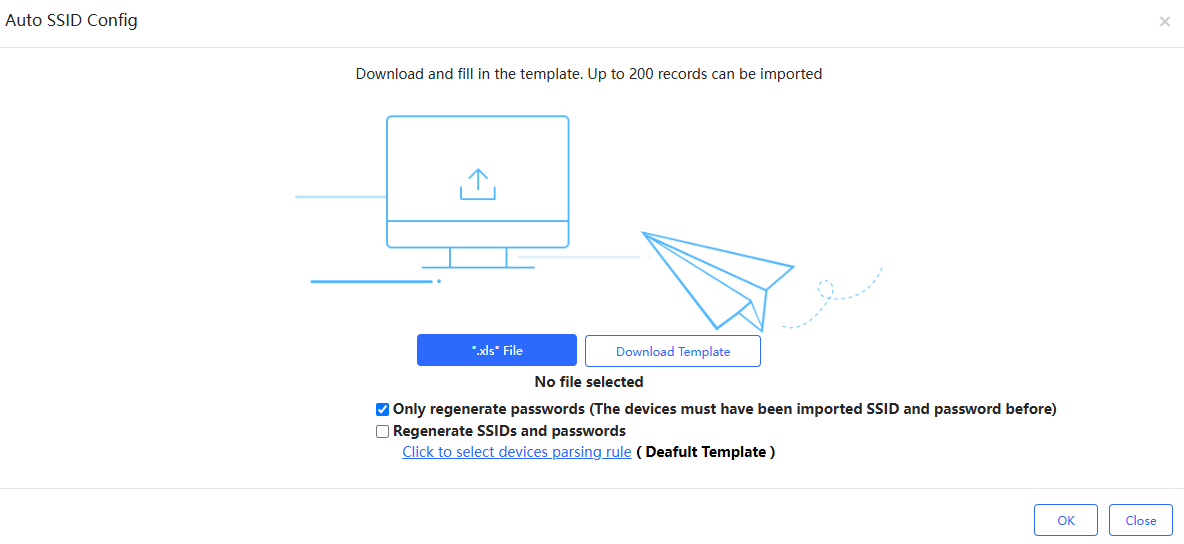
(1) Only regenerate passwords: When this option is selected, only passwords will be automatically regenerated for devices. Make sure that the devices have been configured with SSIDs and passwords before, otherwise, the password cannot be automatically generated.
(2) Regenerate SSIDs and passwords: When this option is selected, both SSIDs and passwords will be regenerated automatically for devices. Up to 4 SSIDs can be configured each device (the default value is 1).
Step 3: After setting the regeneration type, click OK. When the "Operation succeeded" prompt appears, the setting is completed.
Step 4: After the configuration is completed, a link "Click to view detailed configuration information" will appear on the interface. Click the link to jump to the configuration log interface.
In addition, after the configuration is completed, you can hover the mouse over the SN of a device to view its configured SSID, password, and supported RF. 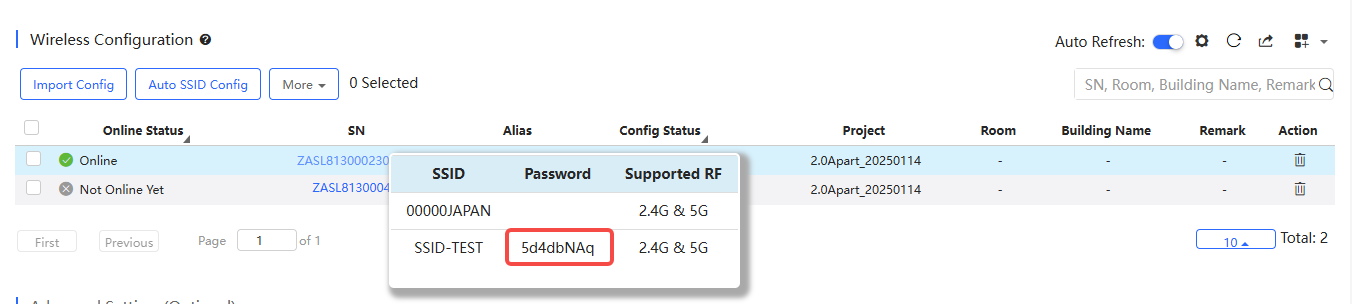
Ruijie JaCS supports acquiring the device SSIDs. Up to 100 devices can be selected at a time. After synchronization is completed, hover the mouse over the SN of a device to display its SSID and password.
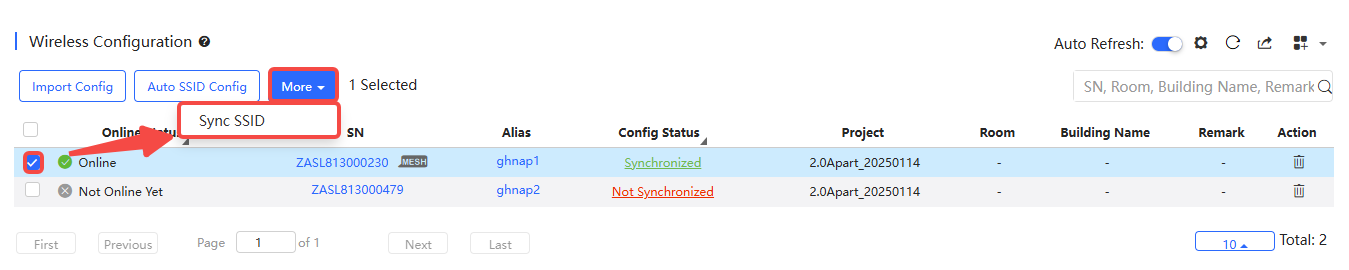
Step 1: Select the online devices that you want to know the SSID and password, and then select More > Sync SSID.
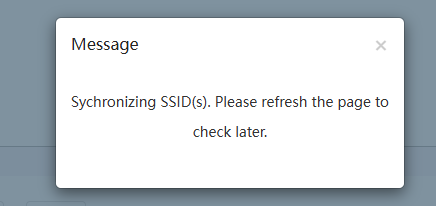
Step 2: When the message appears, click X to close the window and wait for the SSID and password to be synchronized.
Step 3: Click the icon to refresh the list.

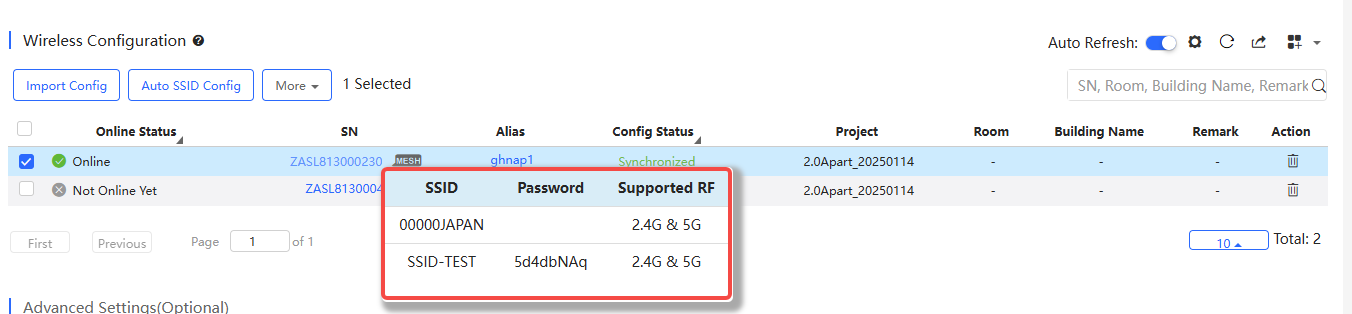
Step 4: Hover your cursor over the SN of a device to view its SSID and password.
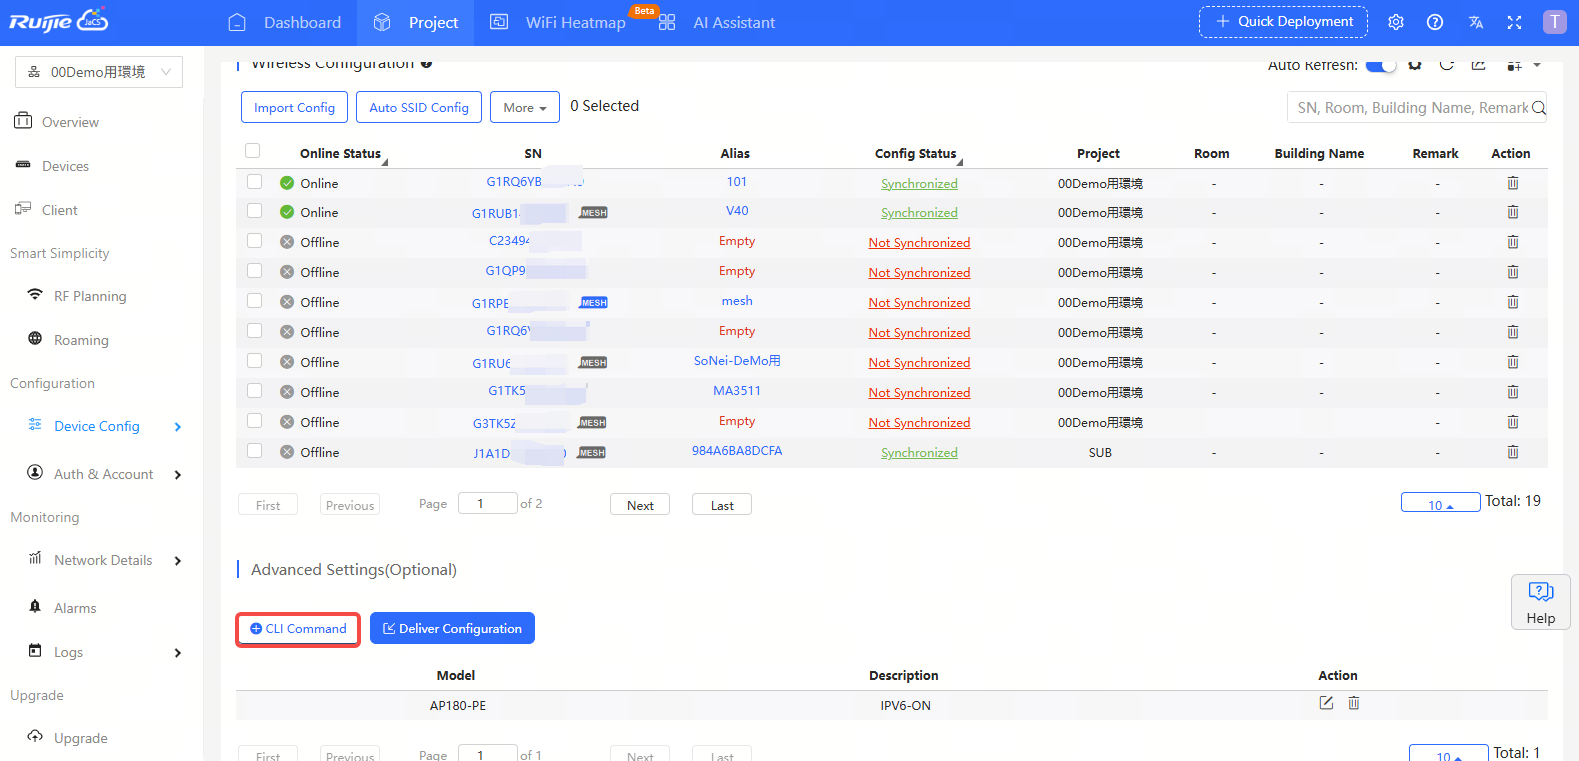
Ruijie JaCS supports sending configurations to APs through Web CLI.
Step 1: Navigate to Project > Device Config > Basics > Advanced Setting and click + CLI Command.
Step 2: Specify the device model, description and enter CLI commands. If you select “All", the system will send the configuration to all online APs in the current project.
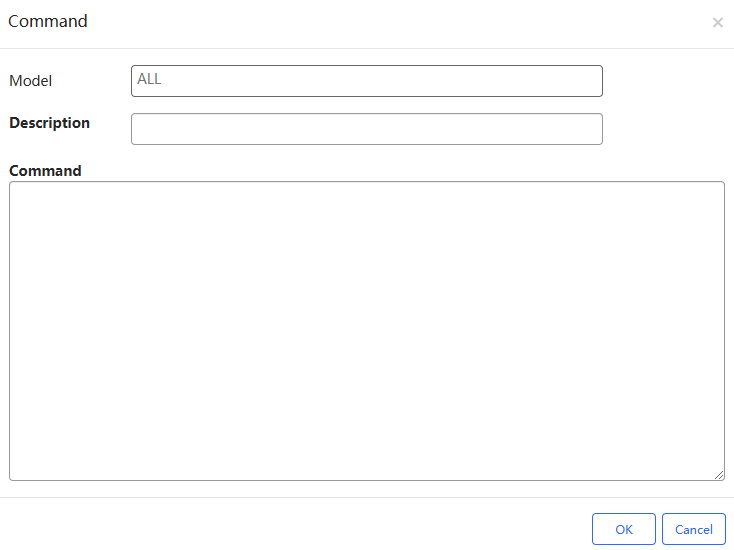
(1) Model: Required. Select the device model (only supports sending configuration to online devices.)
(2) Description: Required. No description is set by default.
(3) Command: Enter the CLI commands.
Step 3: After entering the CLI command, click OK. Then, click Deliver Configuration to deliver the configuration to the specified device model.

全部评论